


Trying to learn how to install roof flashing?
Roof flashing is used to ensure no water leaks into areas of roofing features like vents, chimneys, dormers, skylights, etc. While many homeowners don’t think much of roof flashing, it’s important because each and every component on your roof leaves it more susceptible to water exposure. This is why it’s critical to ensure your flashing is in good condition and if it’s not, make sure to install new roof flashing as soon as possible.
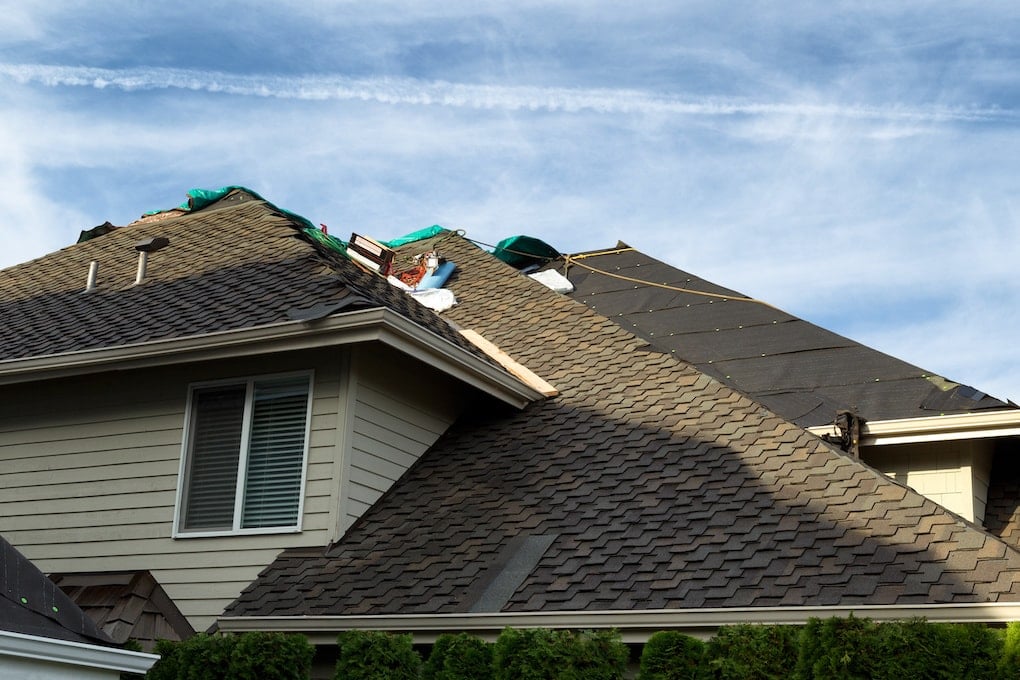
Despite the importance of flashing, some roofers re-use flashing and other roof components. While this can save some money, your flashing can be damaged during the roof replacement process and potentially lead to water damage in the future.
If you want to extend the life of your roof, it is best to learn how to install roof flashing and when to consider replacement. Let’s dive into the steps of installation and what every homeowner should know when replacing their roof.
Tools Required to Install Roof Flashing
Whether you are replacing existing flashing or installing it new, you need a few basic tools and materials to get the job done right.
- Roofing caulk
- Galvanized roofing nails
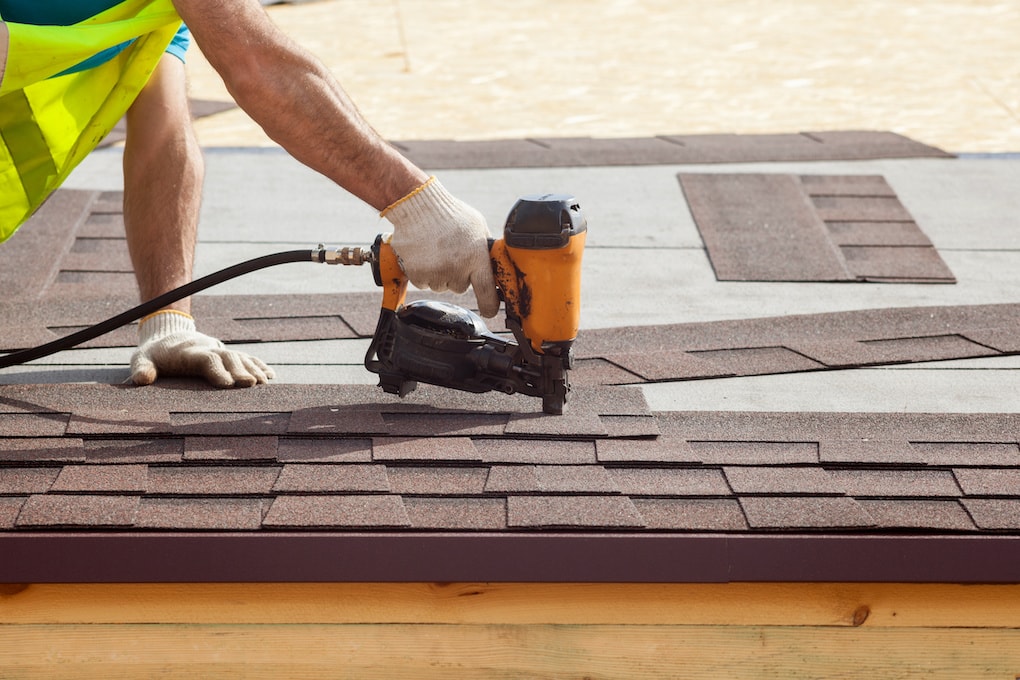
- Roofing nailer or hammer
- Tin snips
- Step flashing
- Corner flashing
- Pry bar to remove existing flashing or shingles
How to Install Roof Flashing Step-by-Step
How you install roof flashing will vary depending on which type of flashing is being used; however, many of the basics are the same, so we’ll go over a basic step-by-step on installing step and kickout flashing.
And as always, it’s best to hire a professional team like Northface Construction to install flashing to make sure it’s done right the first time.
Step 1: Install the Underlayment
Install your underlayment under the shingles. The shingles will have to overlay your step flashing, so if shingles are already installed, they will need to be removed to install the underlayment and flashing.
Step 2: Install Corner Flashing First
Corner flashing is commonly used around walls or dormers that protrude from the top of the roof. In these instances, corner flashing must be laid down first, so you can build up your kick out or step flashing on top of it. While it is best to use a prefabricated corner, it will need to match the exact slope of your roof. If you don’t have access to this, you can simply use the wrapped corner method.
Step 3: Install the Kickout Flashing.
Next, install the kickout flashing, and work your way up. You will place the kickout flashing at the base of the roof and adhere it to the wall using roof cement or flashing sealant (for smaller applications, you can get the smaller container that fits in your caulk gun).
Step 4: Place Your First Shingle
Place your first shingle, so it sits over your starter strip, and the kickout flashing and secure with roofing cement and a couple of nails. For a seamless look, place the nails high up on the shingle to be covered by the next step flashing piece.
Step 5: Layer Shingles Over the Flashing
Install your shingle(s) over the kickout flashing, and the first step flashing you just installed. You should be able to cover the seams of these with your shingle, creating a seamless look.
Step 6: Repeat Steps 3-4 to Create Your Step Flashing
Continue steps 3 & 4 until you reach the roof’s peak.
Step 7: Custom Fit Your Flashing at the Peak
Custom cut and fit your flashing and shingles to fit the roof’s peak. Your flashing and shingles will bend over the roof’s peak, creating a curved application and will keep that joint nice and water-tight.
Step 8: Finish Covering Flashing With Shingles
In the end, your flashing should be covered halfway by shingles, and the other half will be covered by your siding. If you are replacing flashing with existing siding, gently peel up the bottom layer and make sure it lays nicely over your flashing.
These steps should ensure you get perfectly overlapped shingles and flashing from the bottom of your roof to the top peak. Make sure to seal each layer with roofing caulk or sealant each step of the way to create a watertight seal.
Types of Roof Flashing
Roof flashing is not a one-size-fits-all kind of material. For each type of roofing feature, there is a different type of roof flashing. And it’s imperative to install the right one in the right place, or you may risk it failing and causing severe water damage. So here are different types of flashing and their purpose.
Base Flashing
Whenever the roof meets a vertical edge like a dormer or chimney, it requires two flashings to be installed—one on the bottom (the base flashing) and one against the vertical surface. This is because no matter which direction the rainwater is coming from, it’s constantly hitting flashing to help guide it down and away from the joint (a.k.a. where the roof meets the vertical surface).
Continuous Flashing
Continuous flashing is a long piece of metal that will cover a larger joint such as where the roof meets an entire wall of siding and needs to run along the length of that section of the house. It’s also been called “apron flashing” because it is sort of like an apron for your roof, keeping that section safe from water penetration.
The one issue with continuous flashing is that it can bend and break as your house shifts as it expands and contracts in certain weather. This is why expansion joints are built right into those long pieces of metal flashing to let it move with the changes in your home.
Counter Flashing
Counter flashing is simply the secondary flashing that is installed above the base flashing. It completes the dual flashing component where it’s necessary. It will be installed just like the base flashing, just on the vertical surface of the joint.
Drip Edges
A drip edge is a thin metal flashing installed on the very edge of your roof to keep water flowing off your roof. It either helps guide water into your gutters, or if you don’t have gutters, it will ensure water flows away from your home’s soffit and fascia, keeping it safe from water damage. These can be easily replaced and can work in place of gutters if you don’t get a ton of rain.

Kickout Flashing
Kickout flashing will be placed at the end of your step flashing or continuous flashing and guide the water to where it meets the gutter. It kind of looks like an L-shaped scoop: it helps end the step flashing but then guides the water away from the wall so it can go to the gutter and not run along the side of the house or down the shingles. It keeps everything streamlined and flowing.
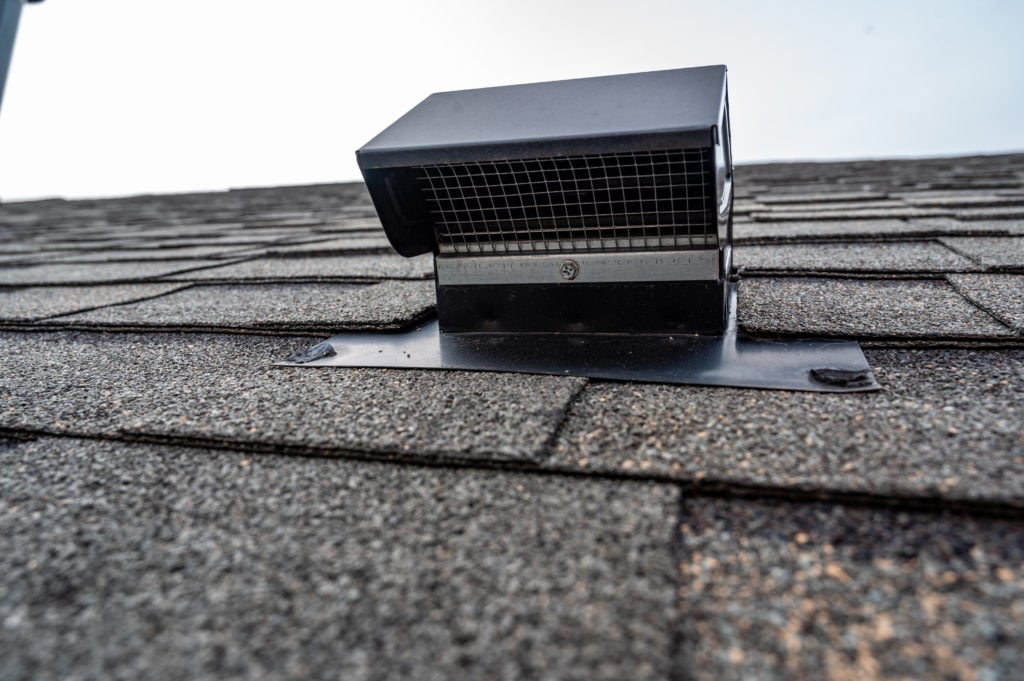
Pipe Boot/Vent Flashing
The pipe boots on your roof are highly susceptible to leaks, and yes, they need flashing too. This type of flashing is cylindrical and fits right over the pipe boot/vent. Shingles are then installed over the base of the vent flashing.
Skylight Flashing
If your roof has a skylight or multiple skylights, they will definitely need flashing around the edges to prevent water from leaking down into your skylights. For the most part, skylights will come with their flashing much like a window might, but if not, roofers will install their own to ensure a tight seal.
Step Flashing
Step flashing is used when the roof meets a wall, somewhat similar to continuous flashing. But it is a rectangular piece of flashing, that as it descends down the roof, does end up looking like steps. These are critical to providing that safety net alongside any wall that is meeting a roof. So it may be a third story or dormer window situation that requires step flashing.
Valley Flashing
Any open valley on the roof requires flashing. Valley flashing will simply sit in the crevasse of the valley, ensuring that the joint between the two roofs is tightly sealed against leaks. You can get flashing to match your shingle colors and barely notice them at all.

How to Extend the Life of Your Roofing System
While many homeowners are tempted to give the DIY route a try, even basic flashing installation can be tricky to do correctly. When you consider more difficult applications like installing flashing against chimneys, vents, plumbing boots, skylights, and other roofing features, it can get even more complex. Therefore, it is highly recommended you leave this work to the pros.
If you happen to be located near Elk River, Minnesota, make sure to contact our team at Northface Construction! Not only will we get the job done right, but we will ensure your roof is in top shape to protect your home from the elements. Give us a call today to learn more!
