

If you are reading this article, chances are that you don’t need a professional to do your roof inspection. You have decided to Do-It-Yourself, and this is okay! As long as you are diligent, accurate, and follow these tips, you should be fine Doing-It-Yourself even for the first time.
A roof inspection is a process of inspecting your home’s roof for any signs that it may need roof repairs, and if so, what needs to be done. Regular roof inspections can help mitigate risk and help catch necessary repairs early before they become a bigger issue.
There are several methods to perform a roof inspection, including visual observation, thermal imaging, infrared thermography, moisture detection, etc. Each method has its benefits (and drawbacks), which we will discuss below.
DIY Roof Inspection Methods
Before doing a roof inspection, there are some things you should know. First off, roofs have many layers, each with its own unique purpose. For example, asphalt shingles protect against water penetration while metal panels keep heat out. If one layer fails, then another must take over.
This means that when performing an inspection, you want to look at all areas of the roof and every single layer.
Visual Roof Inspection
This is the easiest method of doing a roof inspection. In this case, you will not need to get up on a ladder or the roof to take a glance at any damage or other issues. You could use binoculars for a closer look, but this inspection just checks for any obvious signs of damaged or missing shingles.
When looking up from ground level, you want to make sure that you see everything on top of the roof. As mentioned before, roofs have multiple layers, and these layers vary depending on where they are. Some examples include:
- Shingles – Protects against wind damage and rain penetration
- Fascia
- Underlayment
- Gutters
- Etc.
Tools you will need:
- Binoculars
- Flashlight
- Pencil & Paper
- Camera or smartphone
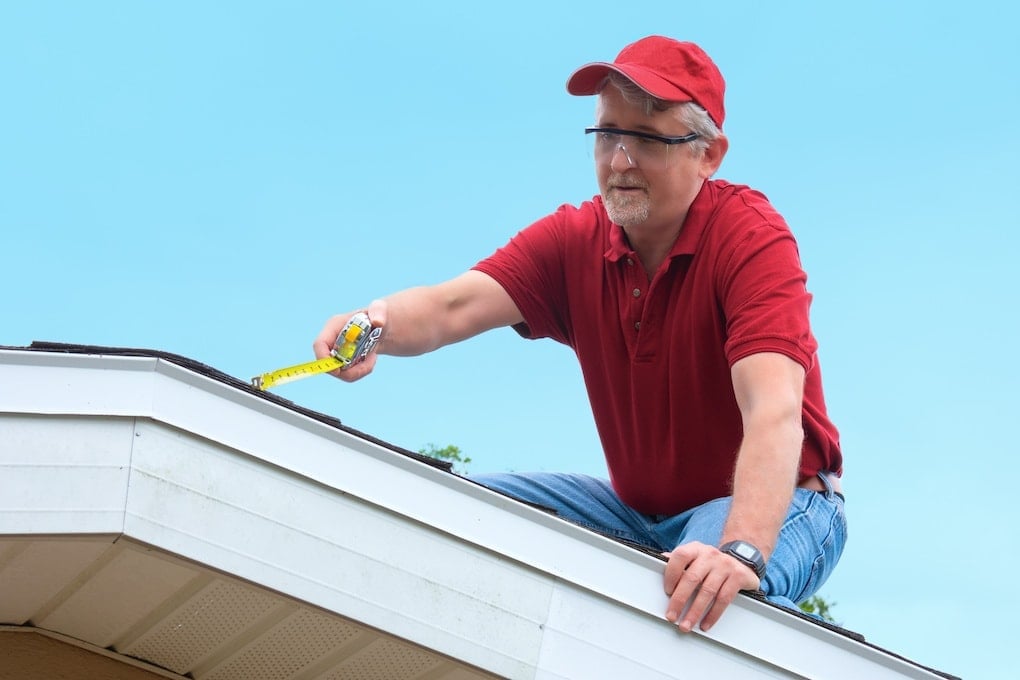
How To Do Roof Inspection By Visual Observation
Step 1: Start With Ground Level Inspections
Take a look at your roof and gutters from the ground. This is safer than getting up on a ladder, and you can spot obvious damage like missing or damaged shingles and gutters from ground level.
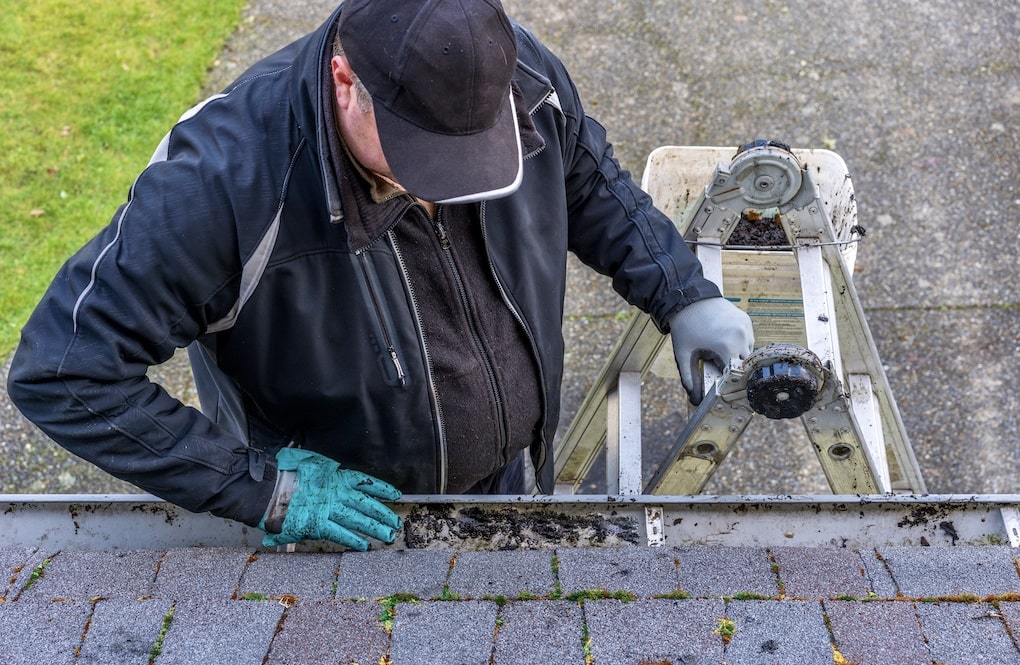
Step 2: Check the Gutters and Downspouts
If your gutters or downspouts or clogged, this can be a sign that there may be trouble up on your roof. When water cannot flow off your roof properly, it has nowhere to go but into your fascia or interior walls into the attic.
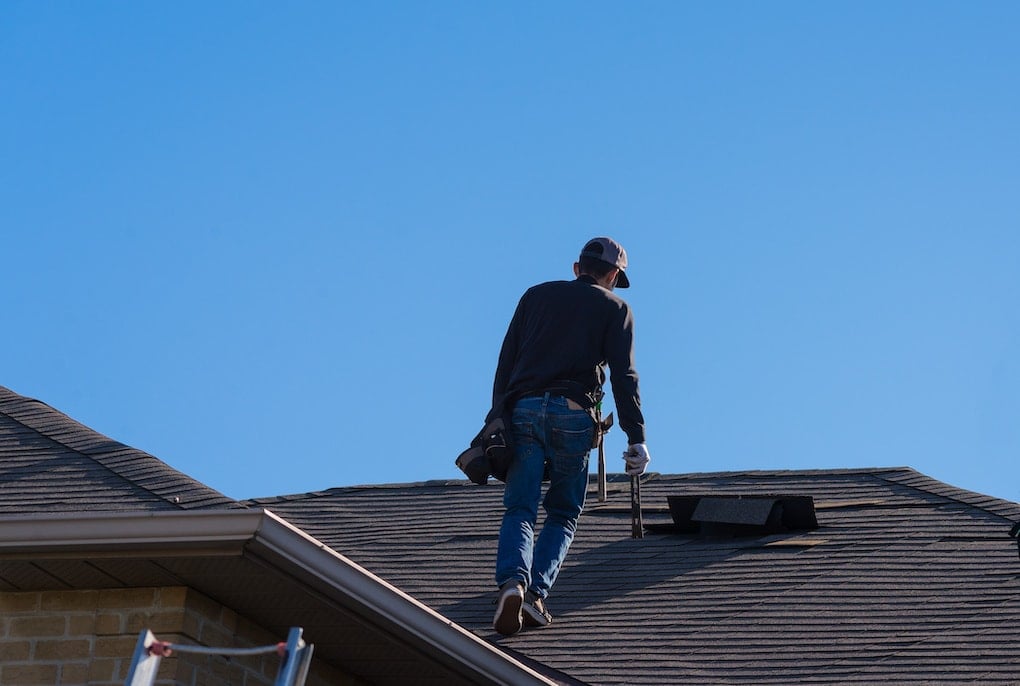
Step 3:Look At All Layers Of Your Roof
Now that you have checked the exterior of your house, it’s time to head inside. Take note of any leaks around windows, doors, skylights, chimneys, vents, etc. Anywhere that water could enter into your home.
After making sure no leaks exist, continue moving upwards towards the peak of the roof. Pay close attention to the flashing along eaves and ridgelines. Are there any missing pieces? Does it seem like the flashing is too old? Or does it look damaged?
Bottom Line
Look closely at the following parts of the roof.
Roof Edge
Look for cracks, missing tiles, loose flashing, damaged sheathing, broken downspouts, and anything else that could indicate potential problems.
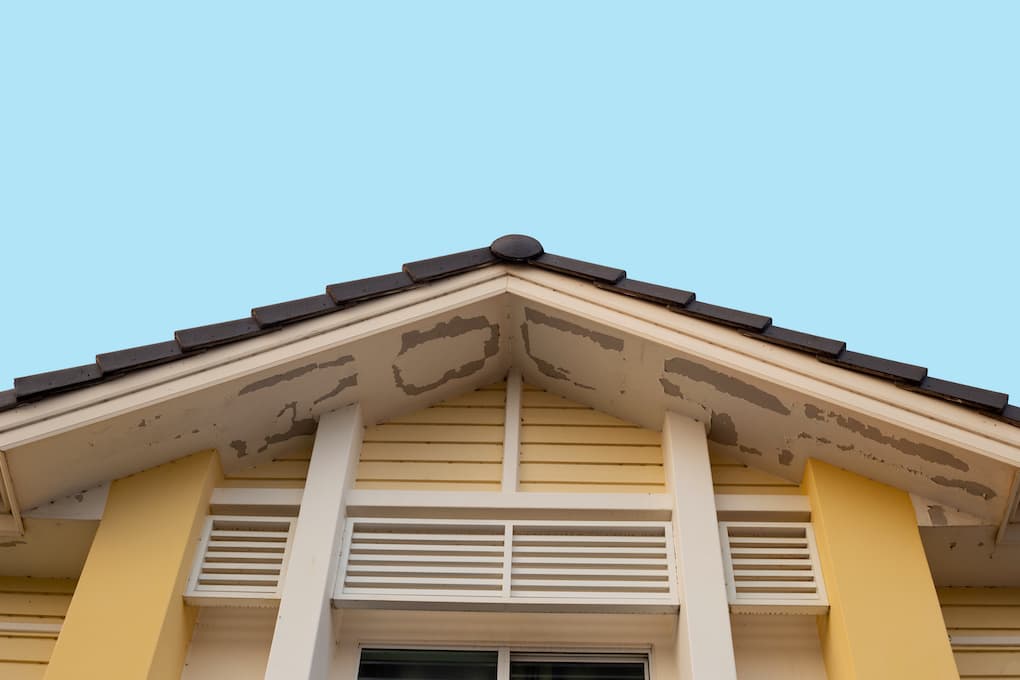
Siding
Inspect siding for peeling paint, cracked wood, holes, and anything else that might suggest issues.
Gutter system
Check the gutter system for leaks, clogged drains, and anything else that indicates possible problems.
Benefits
- Visual observations allow for a quick and easy way to identify problems such as cracked tiles, broken gutters, loose shingles, etc.
- It allows us to spot potential issues early on so that roof repairs can be made sooner rather than later.
Drawbacks
- Using visual observations for roof inspection only provides information about what’s visible. Meaning if something isn’t visible, it won’t show up during the inspection.
- Sometimes, people don’t notice small details until after the fact. So even though you may think you’re careful, you might miss something important during the inspection.
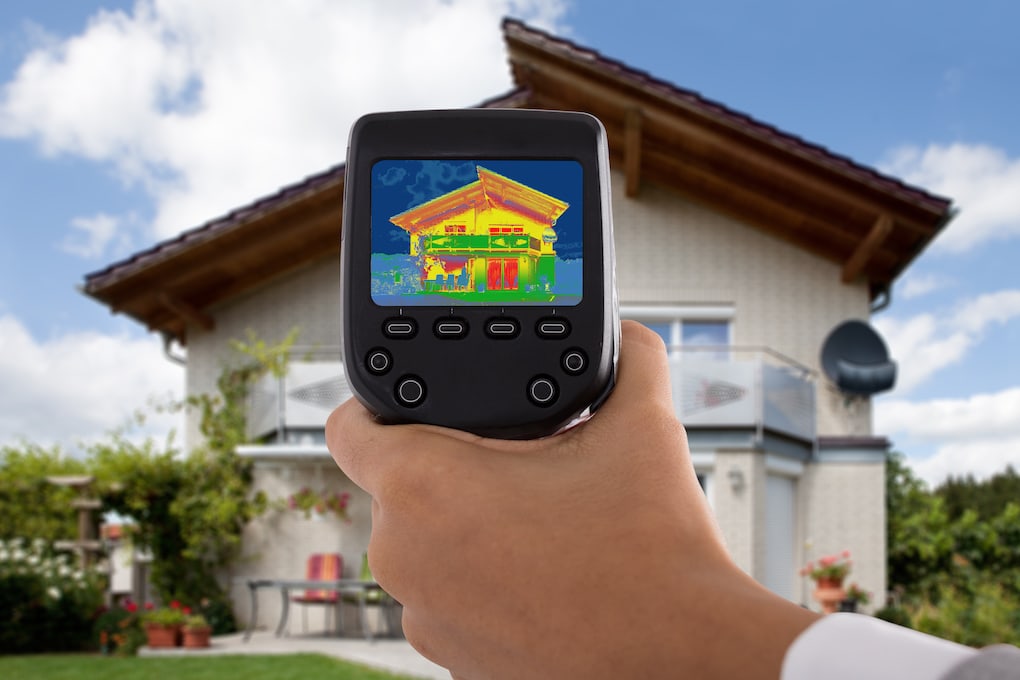
Roof Inspection By Thermal Imaging
Thermal imaging uses infrared light to detect temperature differences between objects. Using thermal imagery, you can quickly tell which parts of your roofs are hot and cold.
This helps you know when things are getting wet because warm air rises while cool air sinks. You can then take action accordingly.
Tools You Need
- Thermal Camera
- Pencil & paper
How To Do Roof Inspection By Thermal Imaging
Step 1: Find Hot Spots
Before starting the actual roof inspection, you must locate all areas of concern. To do this, you point the thermal imager at each part of your roof. If you find a place that seems unusually warm, you mark it off on your map. Then repeat this process for every section of the proof.
Step 2: Identify Leaks
After locating all hotspots, turn your attention to identifying where these spots lead. In other words, try to figure out exactly where the problem lies.
When looking through the images taken by the thermal imager, you should see two distinct colors. Blue represents cooler temperatures, and red indicates warmer temperatures.
As long as both colors are present, you know that heat is escaping from somewhere. Once you’ve identified the source of the heat loss, write down its location on the map.
Step 3: Check Out Other Areas
After finding the area with the most heat loss, move on to the next hottest spot. Repeat this step until you’ve inspected all sections of the roof.
Now you can hire a professional to do roof repair on the spots.
Benefit
- Thermography gives you a clear picture of what needs fixing without having to dig deep into the nooks and crannies of the roof.
Drawback
- Sometimes thermographic inspections aren’t very accurate. They tend to pick up more noise than detail.
- Also, they require some training before becoming proficient enough to use them effectively.
Roof Inspection By Infrared Thermography
Infrared thermography works similarly to how a regular thermostat operates. However, instead of measuring the temperature directly, IR cameras measure the energy emitted by different materials.
Because everything emits radiation at varying intensities, IR cameras can determine whether or not there’s any excess heat coming from certain places.
Tools you Need
- An IR Camera
- Thermal tape
- Paper towel
How To Do Roof Inspection By Infrared Thermography
Step 1: Set Up Your Equipment
Set up your camera so that it faces upward towards the sky. Next, attach the thermal tape to the top edge of the roof.
Make sure that the tape covers the entire surface of the roof. Finally, position yourself behind the camera so that you can observe the results.
Step 2: Take Pictures Of All Parts
After setting up your equipment, begin taking pictures of the roof. The first thing you want to look for is leaks.
These will appear bright white against the dark background. Write down their locations on your map. Now, start inspecting the rest of the roof.
Look for anything unusual like missing shingles or loose tiles. Anything that doesn’t belong could be indicative of a more significant issue.
Step 3: Compare Results With Map
At this stage, compare your findings with the map you made earlier. Are there any discrepancies? Do you notice any new hot spots? This may indicate an underlying leak.
It also might mean that something else has gone wrong. Either way, make a note of the details in your report.
Benefits
- Thermal imaging allows homeowners to identify problems quickly and easily.
- If you find any issues when inspecting your roof, you’ll have plenty of time to fix them before things get worse.
Drawbacks
- There isn’t much room for error when using infrared technology, and any mistakes can result in inaccurate readings.
- Additionally, if you’re inexperienced, you won’t always tell which areas need immediate repair.
Roof Inspection By Moisture Detection
Like many types of home improvement projects, moisture detection requires specialized tools and knowledge. To perform a proper job, you must understand how water moves throughout buildings.
Water tends to collect in low points such as cracks and holes. That means that if you detect excessive amounts of moisture, you probably have a severe problem.
Tools you Need
- Moisture Meter
- Pencil
- Tape Measure
How To Do Roof Inspection By Moisture Detection
Step 1: Find Low Points On Roof
First, locate any potential sources of leakage. For example, check around chimneys, vents, skylights, gutters, etc. When you find a leak, take measurements. Knowing the size of the area leaking can help you determine how long it’s been leaking and how hard it will be to repair.
Step 2: Check Excess Moisture Levels
Using a moisture meter, you can check different areas of the attic to find different areas where there may be more moisture present than others. When you find these areas, you can check for leaks or check to see if more insulation is needed in your attic area.
Poor insulation can cause condensation and mold growth. Leaks or holes in your roof could allow bats, birds, or other critters in. Be sure to do a thorough check for those as well.
Benefits
- When performed correctly, moisture detection provides accurate information about what needs fixing.
- Since it only takes minutes to complete, you don’t have to wait long to see the results.
- Plus, since it uses simple tools, anyone can do it.
Drawbacks
- Can be hard to pinpoint the problem.
- Won’t allow you to tell if the problem is condensation or leaking.
If you are afraid of heights, tight spaces, or aren’t comfortable working alone, hiring professionals who specialize in this type of work might be the right choice
Factors To Consider When Doing DIY Roof Inspection Method
Roof Inspection Cost
Most companies charge between $50-$100 per hour, depending on the size of the project. Thus you can save a lot of money doing your roof inspection.
Roof Inspector
The roof inspector checks the entire house, including attic spaces. They should provide written reports detailing their findings.
Insurance Coverage
Many insurance providers offer discounts for having professional roofing services done by licensed contractors.

Repair Costs
Depending on the extent of damage, repairs could range from minor fixes like patching up leaks to major replacements.
When To Do A Roof Inspection
It depends on several factors, including weather conditions, age of building materials, and overall structural condition. Springtime is an ideal time because temperatures tend to be mild and rainstorms less frequent.
Fall is also good timing because roofs are typically dry at this time. Winter months are not ideal due to extreme cold and snowfall.
How Often To Schedule Roof Inspections
This varies based on location and climate. Most insurances companies will encourage you to have your roof inspected every year. This can help prevent unnoticed damage and keep your home safe from leaks. If you ever experience severe weather and suspect damage, you should also schedule a roof inspection.
Hiring a professional inspector like Northface Construction can help ensure that your roof is properly taken care of. We’ll even work with your insurance company to help get the damage covered by insurance. Reach out to us to schedule your inspection today!
