


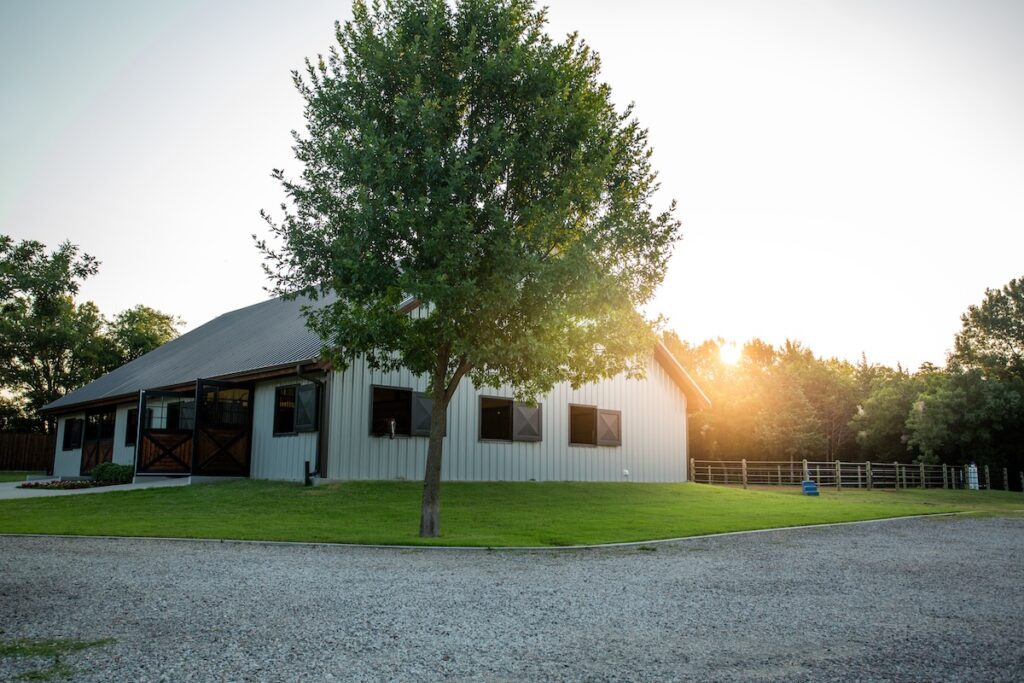
Steel siding installation has surged in popularity with homeowners who want a tougher exterior that still looks refined. It stands up to weather, resists pests, and offers modern profiles that elevate curb appeal. If you are considering vertical steel siding for a home or outbuilding, this guide walks you through benefits, costs, tools, and a practical installation sequence tailored to Minnesota conditions.
In this guide, you will learn:
- Big-picture benefits: Why steel siding outperforms many traditional claddings in durability and maintenance.
- Real-world costs: 2026 material and labor ranges in Minnesota, plus factors that move pricing up or down.
- Installation fundamentals: A clean, step-by-step approach for vertical panels, including layout tips and common mistakes to avoid.
Steel Siding Basics And Why Homeowners Choose It
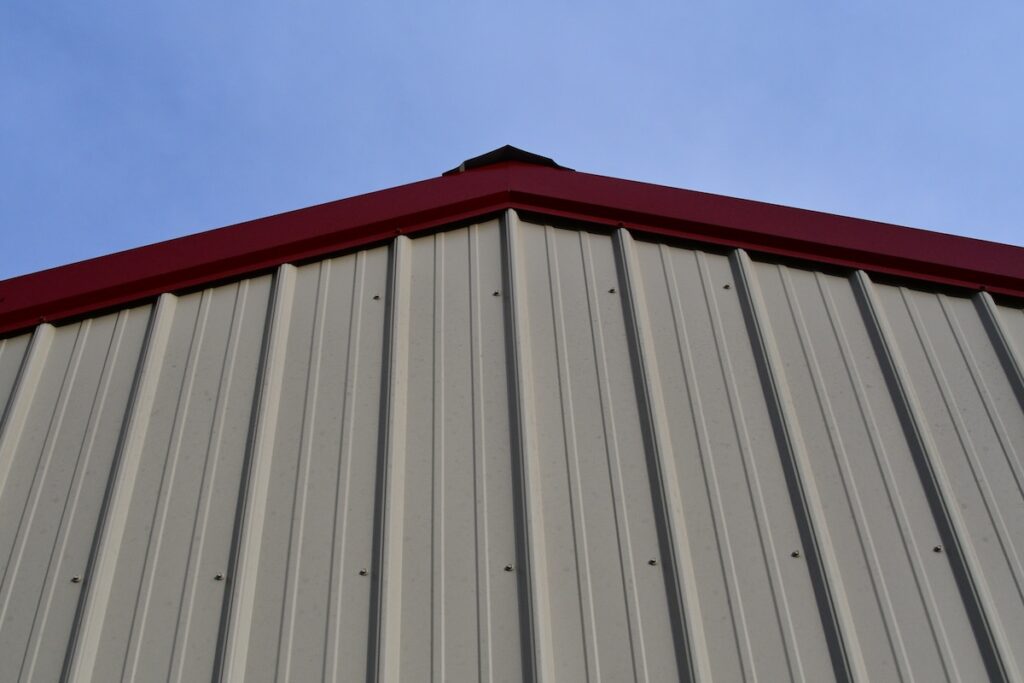
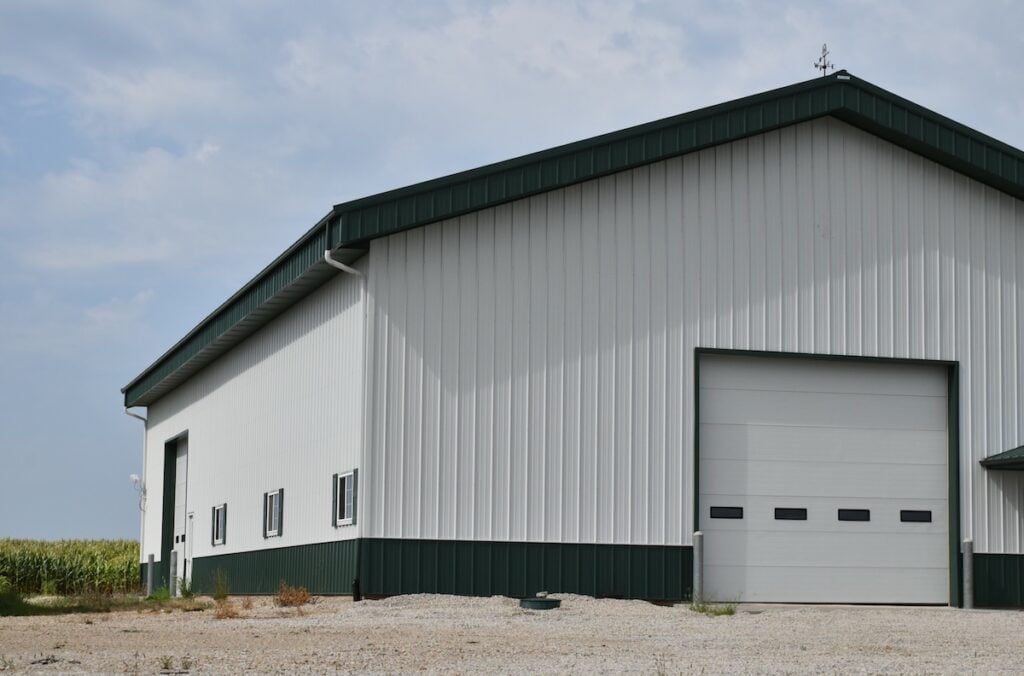
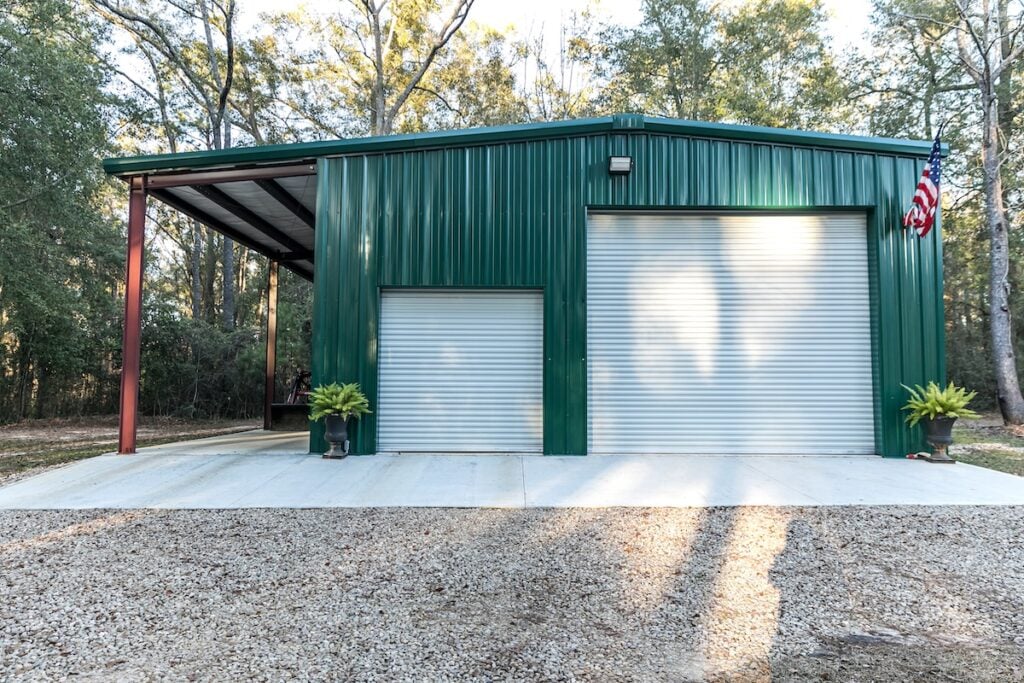
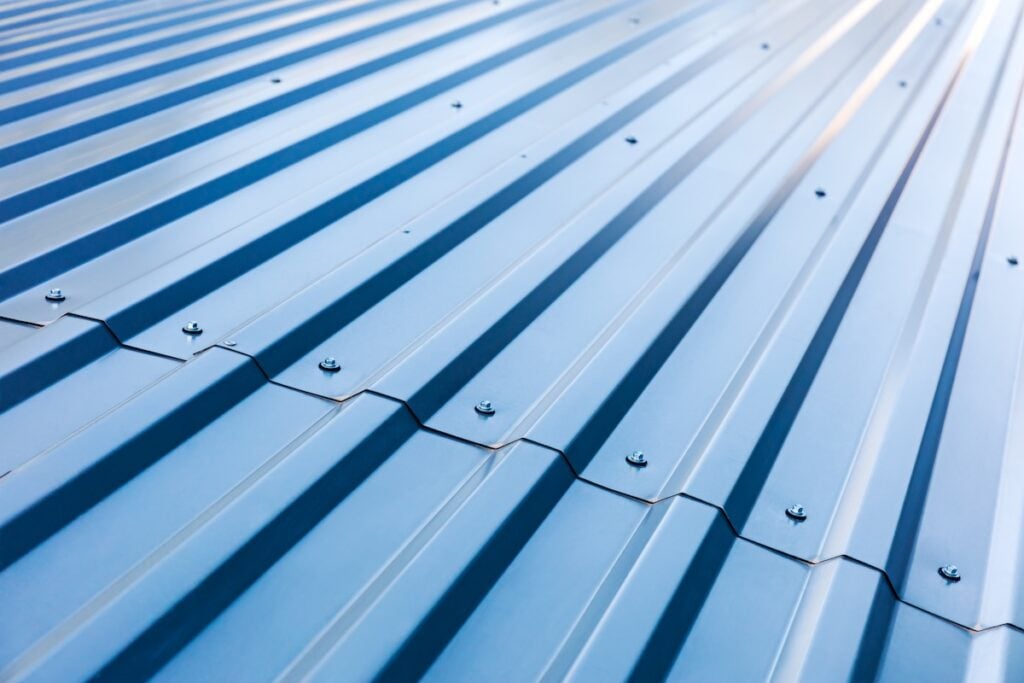
Steel siding is a formed metal cladding system available in vertical rib panels, flush panels, and plank-look profiles. Modern coatings deliver rich colors and woodgrain textures with exceptional fade resistance. In Minnesota, steel’s rigidity and impact resistance make it a smart match for hail, wind, and freeze-thaw cycles that challenge softer materials.
Pros And Cons At A Glance
- Durability: Galvanized or Galvalume-coated steel resists impact, pests, and warping better than wood or vinyl.
- Low upkeep: Factory finishes need only periodic washing to look new for years.
- Fire resistance: Noncombustible cladding can improve resilience and insurance considerations.
- Design range: Vertical ribs, board-and-batten looks, and woodgrain finishes create upscale curb appeal.
- Higher upfront cost: Premium panels and trim packages cost more than entry-level vinyl.
- Thermal bridging: Steel does not insulate, so continuous insulation and furring strategy matter.
- Scratch and cut edges: Exposed raw steel at cuts must be treated to prevent corrosion.
2026 Steel Siding Costs In Minnesota
Understanding cost drivers helps you plan a realistic budget. Prices vary by profile, gauge, finish, and site conditions. Homeowners in Andover and surrounding areas should also factor scaffolding, waste handling, and weather-related staging into bids.
Typical 2026 Ranges
- Material only (panels and standard trims): $5.50–$11.00 per square foot depending on profile, gauge, and finish quality.
- Accessories and details: $1.00–$2.25 per square foot for specialty trims, fasteners, touch-up paint, flashing, and housewrap.
- Labor installation: $4.50–$9.00 per square foot based on story count, cut complexity around openings, and substrate prep.
- Turnkey installed total: $11.00–$20.00 per square foot for most Minnesota projects, with complex elevations occasionally higher.
What Moves Pricing
- Profile complexity: Deep rib or custom plank looks require more trims and precision cuts.
- Substrate condition: Wall waviness demands furring and sheathing to achieve flat planes.
- Insulation strategy: Adding continuous foam raises cost but improves energy performance.
- Height and access: Two-story elevations, dormers, and tight lot lines increase staging time.
- Custom colors: Non-stock finishes and specialty coatings add lead time and cost.
Installation Planning For Minnesota Homes
Thoughtful planning makes installation faster and the finished result cleaner.
Tools And Materials Checklist
- Layout and cutting: Tape, chalk line, laser level, square, aviation snips, metal-cutting blade.
- Weather barrier: Housewrap or WRB rated for your climate, plus flashing tape for openings.
- Furring and insulation: Pressure-treated furring strips, corrosion-resistant fasteners, and optional rigid foam.
- Panels and trims: Inside/outside corners, starter and base trims, J-channel, head and sill trims, Z-flashings, and finish trims.
- Fasteners: Painted, corrosion-resistant screws with neoprene washers sized for panel ribs or slots.
- Safety: Eye and ear protection, gloves, stable ladders, and staging where required.
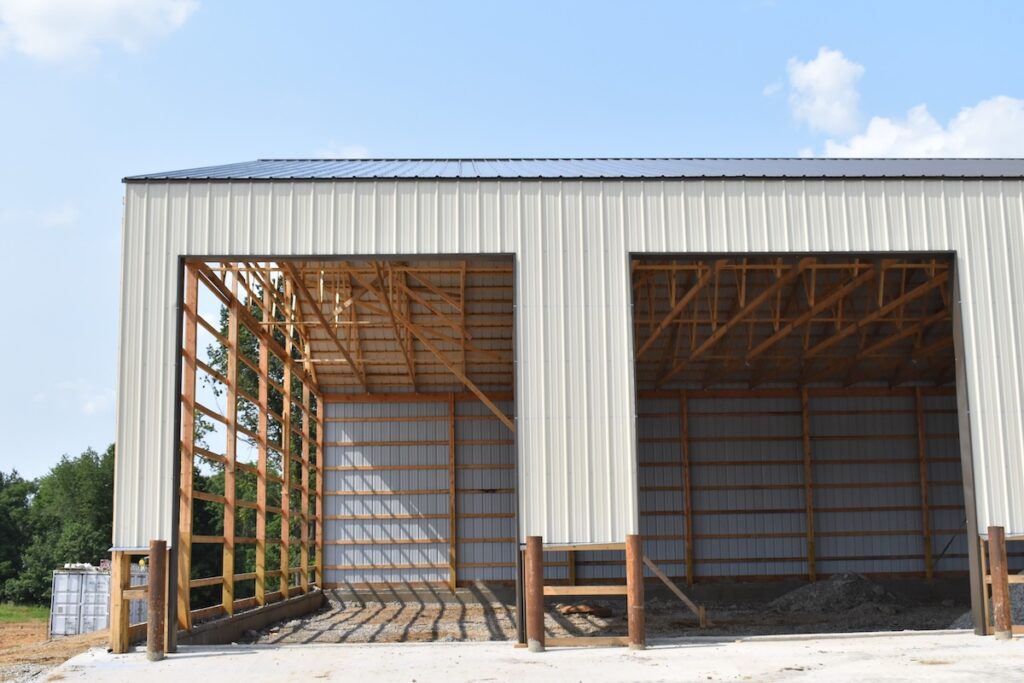
Substrate Flatness And Moisture Control
Steel siding telegraphs irregularities. Before any panel goes up, confirm walls are flat within manufacturer tolerances. In Minnesota, vapor and air control layers matter as much as water shedding. A continuous WRB, properly sequenced flashing around windows and doors, and vented rainscreen gaps help manage incidental moisture and extend finish life. When adding continuous exterior insulation, coordinate furring thickness so panel fasteners achieve minimum embedment in studs.
11 Steps: How To Install Vertical Steel Siding
Read through all steps before cutting metal to avoid wasted material and guesswork.
- Prep And Layout: Establish a level reference line, snap vertical layout marks based on panel width, and plan where partial panels will land so they balance at corners.
- WRB And Flashing: Install housewrap shingle-style with taped seams. Flash sills, jambs, and heads so water always drains to the exterior without trapping behind trims.
- Furring And Insulation: Shim or fur walls to achieve flat planes at 16 inches on center, adding rigid foam if specified. Keep a consistent rainscreen gap for drainage and drying.
- Starter And Base Trims: Install base and starter trims perfectly level. Small errors here multiply as you climb the wall, especially on tall elevations.
- Corners And J-Channel: Set outside and inside corners plumb. Install J-channel at windows, doors, soffits, and terminations, leaving expansion clearances per the panel manufacturer.
- Measure And Cut Panels: Dry-fit and pre-cut partials so they split evenly at both ends of long walls. Treat cut edges with manufacturer-approved touch-up to seal exposed metal.
- Hang First Panel: Lock the first panel into starter and corner trims. Fasten through slotted nailing hems or specified rib locations with painted screws and washers, keeping lines straight.
- Overlap And Fasten: Engage the next panel’s seam, check reveal, and fasten per pattern. Periodically verify plumb with a level to avoid drift over long runs.
- Detail Around Openings: Use Z-flashing and head trim to direct water over vertical legs of J-channel. Sill trims should always lap outward so water exits, not back into the wall.
- Top Terminations: At soffits or friezes, install receiving channel or finish trim. Maintain required clearances from horizontal surfaces to prevent capillary water.
- Punch List And Cleanup: Sight along walls for any oil-canning or proud fasteners. Replace scratched screws and dab touch-up paint on fine cuts to protect coatings.
Pro Tips To Avoid Common Mistakes
These reminders keep projects on track and reduce callbacks for movement or moisture.
- Keep Panels Cool When Cutting: Heat from abrasive blades can burn finishes and create burrs that invite rust. Use shears, snips, or a fine-tooth metal blade and de-burr edges lightly. Always seal exposed cuts with touch-up.
- Mind Expansion And Fastener Tension: Do not overdrive screws. Tight enough to seat the washer, but not so tight that you pinch the slot and restrict thermal movement. Leave manufacturer-specified gaps where panels meet receivers.
- Balance Partials For Symmetry: Center your layout so narrow cuts split to both ends of the wall. Symmetry at corners and between windows upgrades the finished look and resale impression.
Maintenance And Care For Long Service
Steel siding is low maintenance, not no maintenance. A little annual attention keeps panels clean and coatings protected for decades.
Simple Annual Checklist
- Wash surfaces: Mild soap and water remove dust and road film that dulls finishes.
- Inspect sealants: Check joints at penetrations and trim laps for UV wear or gaps.
- Check fasteners: Replace any missing screws and snug loose ones to the correct tension.
- Protect from soil contact: Maintain clearance at grade to avoid splashback and corrosion risks.
Steel Siding In Andover And Surrounding Areas
Homes in Andover and surrounding areas face wide temperature swings, hail, and wind. Steel siding performs well when walls are flattened with furring, drainage gaps are preserved, and cuts are sealed. Local crews familiar with Minnesota’s weather patterns will specify the right gauge, finish, and trim package so your exterior holds up through winter and looks sharp all summer.
DIY Or Hire A Pro?
Installing vertical steel siding requires accurate layout, careful flashing, and safe work at height. Ambitious DIYers can tackle small walls, but full elevations and complex window groupings are best left to a certified crew. Professionals bring brake equipment for crisp trim, manage expansion details, and stage the site so the project finishes on schedule with fewer surprises.
Steel Siding: Pros And Cons Recap
- Environmentally friendly: Steel is recyclable and avoids landfill rot compared to some claddings.
- Curb appeal: Modern colors, woodgrain looks, and varied panel profiles elevate design.
- Impact and fire resistance: Tough against hail and noncombustible for added resilience.
- Low maintenance: Occasional washing and minor sealant checks keep panels looking new.
- Higher upfront cost: Premium materials and careful labor raise initial investment.
- Insulation needs: Add continuous exterior insulation to control thermal bridging.
- Rust risk at cuts: Treat all field cuts and scratches promptly with approved touch-up.
Frequently Asked Questions In Minnesota
How long does steel siding last in our climate?
With proper installation and routine washing, high-quality coated steel siding can last 40 years or more, even with hail and freeze-thaw cycles common in Andover.
Will steel siding dent in hail?
Heavier gauges and deeper profiles resist small hail well. Very large hail can still dent metal, but steel typically outperforms vinyl and many fiber cement finishes for impact resistance.
Can I install over existing siding?
Sometimes. If the existing cladding is flat, sound, and allows for a proper WRB and rainscreen, an overlay may work. Your installer will confirm fastener embedment and moisture details.
Does steel siding fade?
Premium coil coatings hold color exceptionally well. North-facing walls fade slowest; sun-exposed elevations benefit from higher-grade finishes designed to resist UV.
Get A Flawless Finish With Northface Construction
Steel siding installation rewards precision. If your walls are not perfectly flat, if flashing is out of sequence, or if fasteners are overdriven, problems show up fast. Northface Construction delivers clean layouts, tight weather details, and finishes that look incredible for years in Andover and surrounding areas.
Ready to upgrade to steel siding or need a professional install? Contact Northface Construction for a free quote and get a durable, low-maintenance exterior that is built for Minnesota.
