There are few things more annoying than a leaky roof, and unless you want to break out the drip bucket every time you get some rain, you’re going to want to fix the leak.
Acting fast is going to be your best bet to avoid any further damage. To help you out with those frustrating leaks, we’ve made a list of the 10 most common causes for roof leaks and advice on how to fix them.
The Most Common Roof Leak Causes
Your Roof is Past its Prime
Sometimes the issue is as simple as your roof just being too old. Roofs only last for so long. For example, asphalt shingles only last 15 to 20 years before they need to be replaced. Throughout its lifespan, roofing materials get battered by storms and wind and wear down, becoming less effective when it comes to keeping water out of your home. If this is the issue, it’s time to contact a roofing contractor to help get some new material for your roof to make it work like new once more.
How to Fix it:
- Get a roof inspection
- Research roofing materials to upgrade
- Call Northface to get your roof replaced
Roof Vent Damage
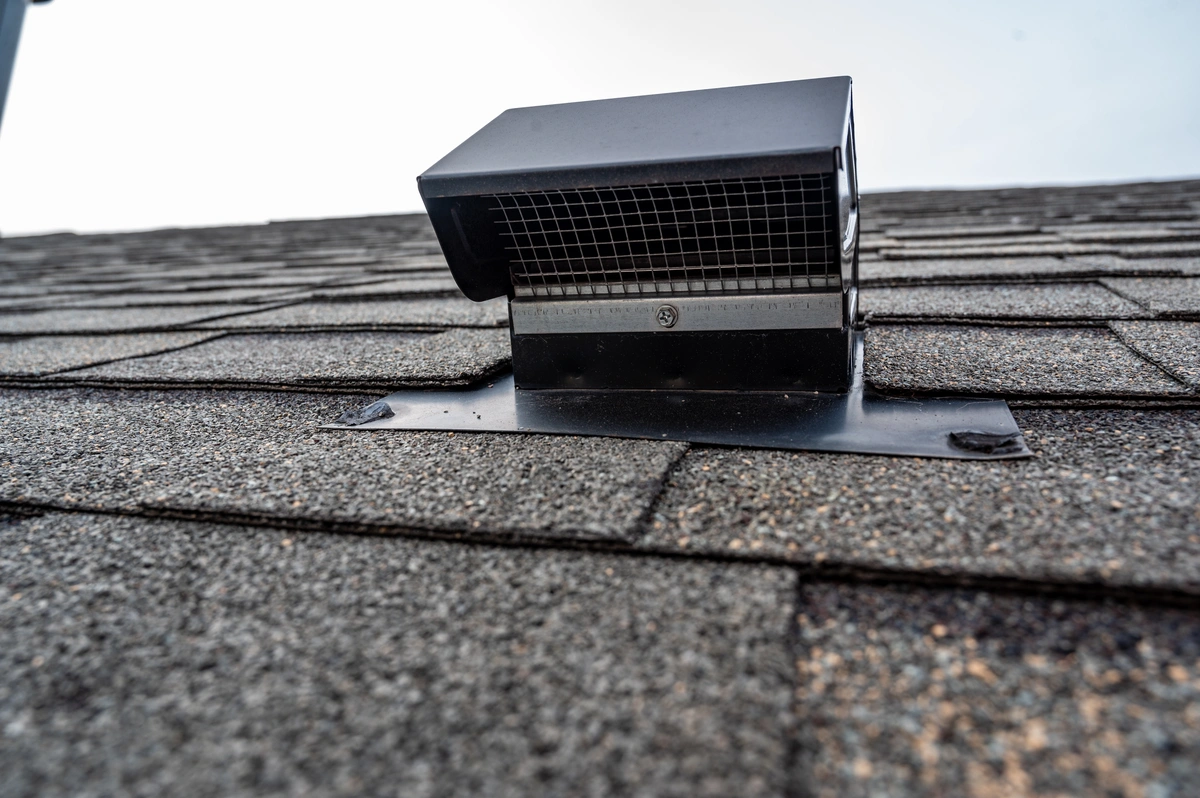
Your roof vents are highly susceptible to damage and leaks during severe storms. If you have venting on your roof, check out the area of your roof surrounding the vent and see if it is dark or damp. This is a tell-tale sign that your venting is the issue.
You can typically solve this problem by sliding a new rubber “‘boot” under the vent. You may also need to replace the entire unit or at least replace the flashing around it. Vents and other roof components require extra sealing to ensure it is indeed watertight. Check the caulk, sealant, and flashing around it and replace those along with a new vent to 100% solve the issue.
How to Fix it:
- Seal any cracks or holes with caulk and roof sealant
- Replace the flashing around your vents
- Replace the entire roof vent
Valleys Aren’t Properly Sealed
The valley of your roof is the area where two planes of the roof meet. Because of the sloped nature of these valleys, if they are damaged or not properly constructed, rain running down the valley will likely trickle into your home. In terms of fixing this issue, a professional will likely be needed to address the issue by laying a new leak barrier along the valley and shingling overtop.
How to Fix it:
- Tarp the area if the leaks are extensive
- Call a contractor to re-flash and re-shingle your valleys
Debris Buildup
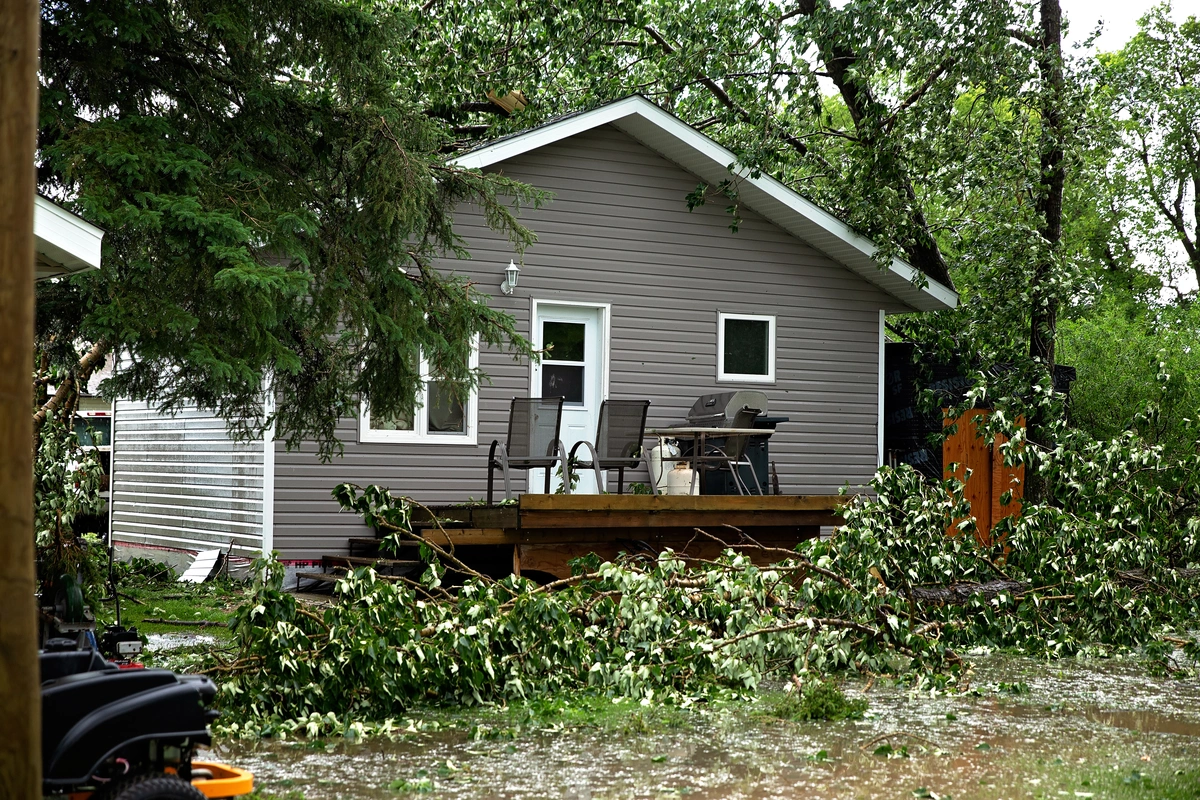
If there was a recent storm and you haven’t had the chance to clean any branches, twigs, or leaves off your roof, the debris can build up water and trap it against the roof, making it more likely to slip through any small cracks in your roof. The solution for this one is simple, which is to clean your roof when it gets filled with too much debris. Just make sure that you are taking the necessary safety precautions when you’re on your roof.
How to Fix it:
- Blow off debris using a leaf blower or power washer
- Trim trees that overhang your roof
Flashing Needs Replacement
Flashing is placed where the roof joins a dormer and where the chimney attaches to the roof. In fact, any place where your roof meets a wall, valley, or another angle, requires well-installed flashing. Flashing sections may slide out of place if nails are missing, and caulk can also dry and crack from the wear and tear of weather.
Similar to the vent problem, you can solve the flashing issue by swapping old material out for newer ones. Flashing should last about 30 years or more depending on the condition and material of your roof. It’s your roof’s biggest line of defense against leaks in those areas, so checking that regularly can help prevent future leaks.
How to Fix it:
- Replace the flashing yourself, or call a professional
Ridge Cap Leaks
The opposite of your valley is the ridge, which is the peak where two panels meet. When your roof is installed, it should include folding over both sides of the ridge with your underlayment and felt paper. Then, shingles are installed horizontally on the ridge. Extra-long nails need to be used to ensure those shingles are secured through all of the layers. If the shingles were improperly installed on the ridge cap, it could lead to loose nails and shingles that can easily cause leaks.
If this is the issue, a contractor will likely have to be called because when it comes to ridge cap leaks, the problem usually occurred during the roof’s construction. If a leak on your ridge cap happens early in your roof’s lifespan, you should be able to get some coverage through a workmanship warranty if you had one when your roof was installed.
How to Fix it:
- If the leak is severe, tarp the roof immediately
- Call your local contractor to repair or replace the ridge cap shingles
Gutter Backup

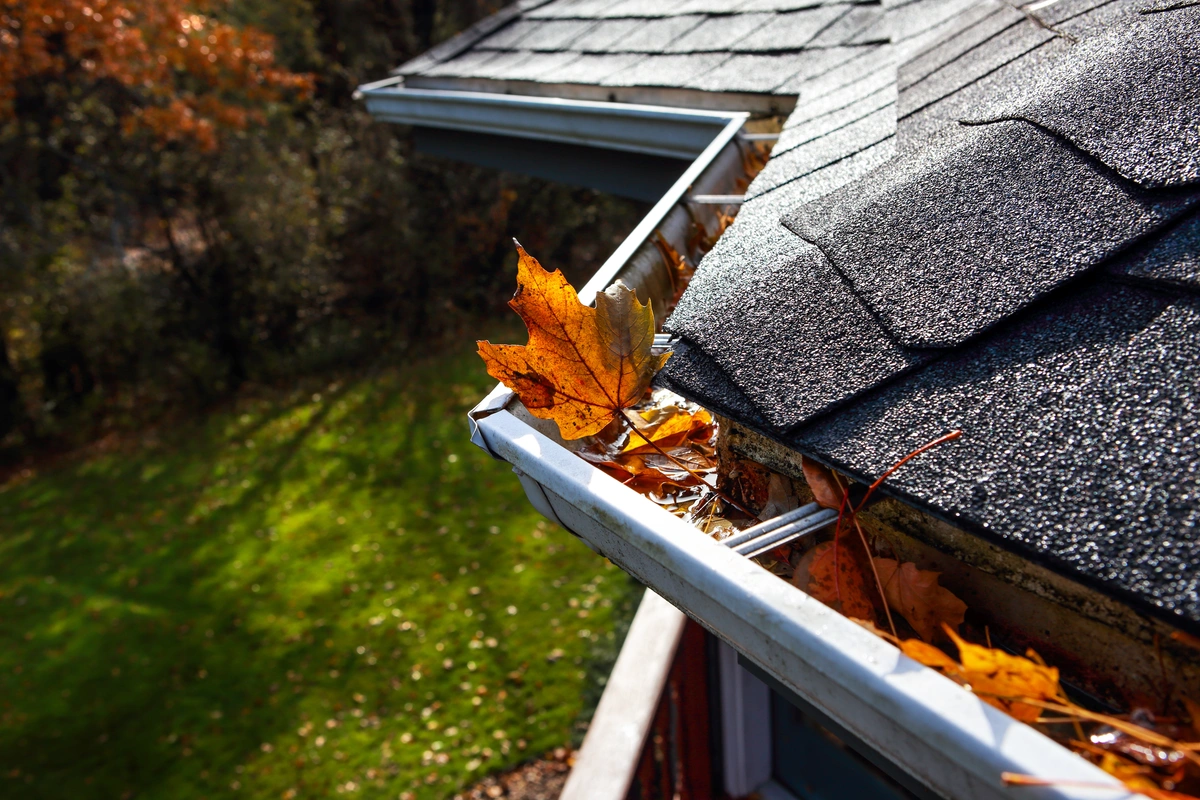
Your gutter works as part of your entire roofing system. And when it isn’t working properly because it’s clogged with leaves and debris, it can affect your roof. The longer water sits in your gutters at the roof edge, the easier it can seep inside your home, causing immense water damage.
To remedy this, you need to clean out your gutters and consider installing some gutter guards to keep pesky debris out. Regularly cleaning your roof can also help keep debris out of your gutters, and ensuring you have a drip edge installed will help protect against any future gutter backups.
How to Fix it:
- Clean out your gutters and downspouts
- Keep your roof and gutters clean
- Purchase and install gutter guards
Untreated Holes
While this may be an obvious one to avoid, sometimes holes left from T.V. antennas or similar objects can be the problem. Ensure that if you are ever having something removed from your roof, the area is properly sealed. This includes vents, boots, chimneys, etc. You can temporarily seal any holes in your roof using caulk, but you should call a contractor to fully remedy the situation.
How to Fix it:
- Caulk any holes you find in the attic
- Patch holes in your attic with wood and sealant
- Replace any damaged shingles near the hole
Ice Dam Buildup

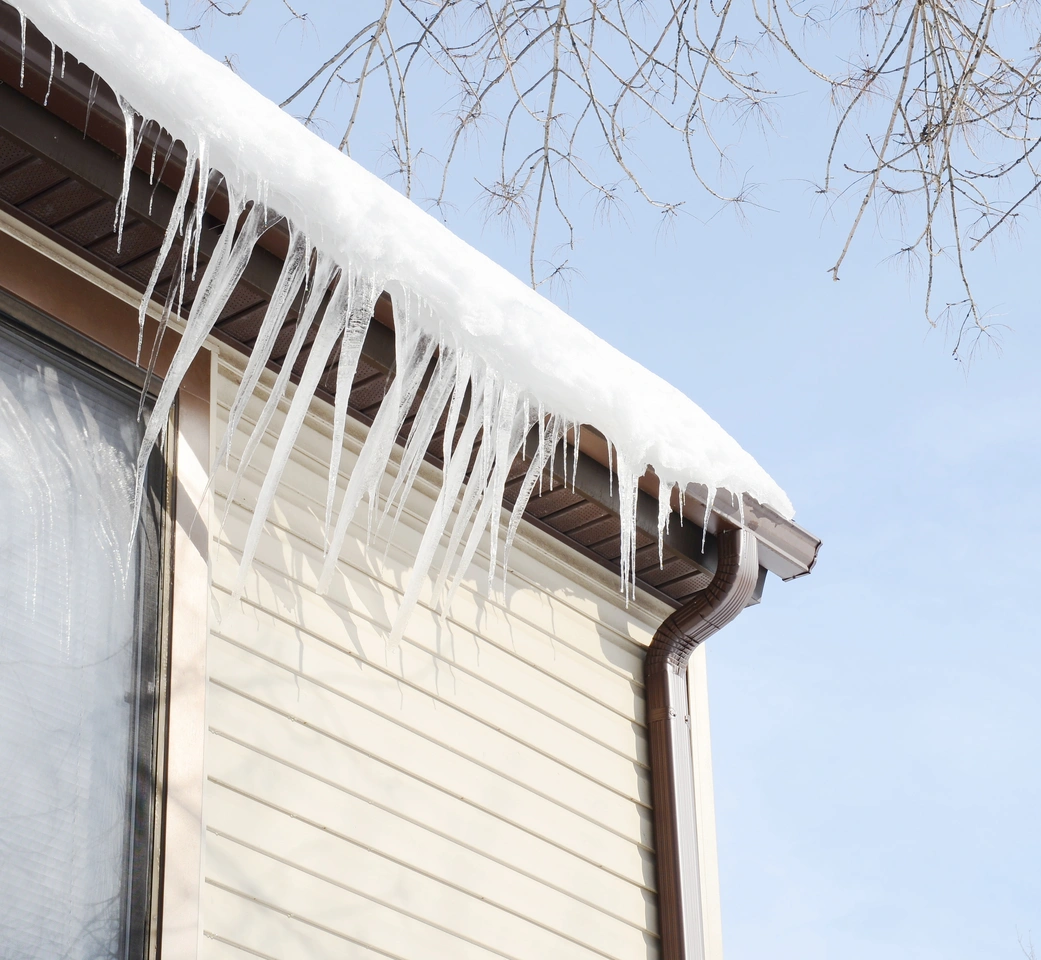
Ice dams occur when ice forms at the edge of your roof, causing a block for any melting snow or ice to shed. If you’re getting leaks in the winter, it’s likely due to ice dams. Ice dams are also caused when your roof/attic has poor insulation. Heat is escaping so it can’t melt the ice on your roof. Not only does the water sitting behind the ice dam cause damage, but that immense weight on your roof’s edge can damage gutters, shingles, and your drip edge.
You may think that busting up the ice dam or attempting to rake the snow off your roof yourself is a good option. But this can be very dangerous and cause further damage leading to you needing to call a contractor anyways. So, your best option is to have a contractor like Northface Construction come and remove the ice dams for you. We can do it safely using heat to melt the ice away.
How to Fix it:
- Re-insulate your attic
- Call for ice and snow removal services
Condensation in Your Attic
A leak is most likely coming from your attic if the attic space shows signs of mold or mildew growth. A strong, musty odor emanating from the attic is also a key that water has gotten inside. You may also notice water stains or discoloration on your ceiling as a sign of a roof leak or attic condensation.
If you find mold or mildew near the leak, then it may be coming from your attic. This means that there is too much condensation build-up above you. To treat the issue, get rid of the mold growth and ensure your attic is well insulated. Installing a ventilation fan can also help. Placing a dehumidifier in the attic can get rid of any remaining moisture and condensation.
How to Fix it:
- Re-insulate your attic
- Use a dehumidifier in the attic
- Remove any mold or mildew growth safely
- Install ventilation fan
- Get your roof inspected
Need Some Assistance With a Your Roof Repair?
At Northface Construction, we’ve seen it all when it comes to roof repair. No matter what the issue is, we’ll help you identify the cause and the solution for making your roof functional once again. We won’t nickel and dime you for unwanted repairs, but we’ll fix what needs to be done, and we’ll do the job right. If your roof has been affected by a storm, contact Northface Construction for a free estimate!


