

Wondering how to install metal roofing? Whether you’re aiming to boost your home’s energy efficiency or simply love the modern, sleek look of steel or aluminum roofing, metal is one of the best investments you can make in 2025.
While hiring a professional roofer is always the safest option, many skilled DIYers successfully install metal roofing themselves — and with the right preparation, you can too.
In this step-by-step guide, we’ll walk you through how to install a metal roof yourself, including tools, safety tips, and common pitfalls to avoid.
Key Takeaways:
- What tools and materials you need to get started
- How to prepare your roof deck and install underlayment properly
- Tips for laying and fastening metal panels the right way
- Safety advice every DIYer should know
- Signs it’s time to call in a professional
Why More Homeowners Are Choosing Metal Roofs in 2025:

There are many reasons homeowners switch to metal roofs vs. standard asphalt shingles or other roofing materials. Metal roofs have one of the biggest ROIs you can get with longevity, durability, and beauty improvements.
While other roof materials might diminish in value as they age, metal roofs offer lasting benefits, including:
Strength and Durability
Metal roofs are built to last. With lifespans of 40 to 70 years depending on the type of metal, they offer unmatched resistance to wind, hail, fire, and heavy snow. Compared to asphalt shingles or wood shakes, metal is far less susceptible to leaks and storm damage.
Lightweight
Unlike tile or concrete roofing, which can weigh 700–900 pounds per square, metal roofing typically weighs only 50–150 pounds per square. This reduces structural stress and makes installation easier and safer—especially important for older homes or additions.
Long-Lasting
This is a set-it-and-forget-it investment. Installing a metal roof early in your homeownership means you likely won’t need to replace your roof again. That longevity also becomes a strong selling point if you ever list your home.
Low Maintenance
Thanks to its tough surface and resistance to mold, mildew, and pests, metal roofing requires very little upkeep. Occasional inspections and gutter cleaning are typically all that’s needed to keep it in top shape.
Energy Efficient
Metal reflects solar heat, helping your home stay cooler in the summer. In colder climates like Minnesota, metal also retains indoor warmth more effectively when paired with proper insulation—reducing the load on your HVAC system year-round.

Fire Resistant
Metal roofs hold a Class A fire rating, the highest possible. That means added peace of mind for homeowners in areas prone to wildfires or lightning strikes.
Opportunity for Discounts
Because metal roofs are more resilient against wind and fire, many insurance providers offer premium discounts. It’s worth checking with your insurer to see how much you could save.
Tools & Materials Required for Metal Roofing
Installing a metal roof takes precision, the right materials, and a good set of tools. Below is a general list of what you’ll need to get started, whether you’re working on a shed, garage, or full residential roof.
Pro Tip: If you don’t already own many of these tools, or you’re unsure how to use them safely, hiring a licensed roofing contractor may be the safer and more cost-effective route.
Materials Required:
| Material | Purpose | Pro Tip |
|---|---|---|
| Metal Panels/Shingles | Main roofing layer for weather protection | Choose aluminum or steel for durability and longevity |
| Underlayment | Moisture barrier beneath panels | Synthetic underlayment offers better durability than felt |
| Flashing | Prevents leaks around vents, chimneys, and edges | Install before panels for proper sealing |
| Ridge Caps | Covers the roof peak to protect from wind & water | Match ridge cap to panel style for clean finish |
| Drip Edge & Gutters | Directs water off roof and away from foundation | Install drip edge before underlayment |
| Fasteners / Roofing Nails | Secure metal panels and flashing | Use rubber-washer screws to prevent leaks |
| Sealant / Caulking | Additional waterproofing at seams and edges | Choose a metal-compatible, paintable sealant |
Tools Required:
| Tool | Use | Pro Tip |
|---|---|---|
| Cordless Drill | Driving screws and cutting with attachment | Use variable speed drill for better control |
| Metal Snips / Shears | Cutting panels and flashing to size | Aviation snips are great for tight curves |
| Fastener Driver | Speeds up roof screw installation | Use magnetic tips to avoid dropped fasteners |
| Pitch Gauge | Measures roof slope for planning | Use before starting to confirm panel compatibility |
| Roofing Shovel / Pry Bar | Removing old shingles or underlayment | A flat pry bar helps reduce damage to decking |
| Ladder or Scaffolding | Accessing and working on roof safely | Use roof brackets or stabilizers for added support |
| Safety Harness + Gear | Fall protection while working at height | Always anchor to a secure point, not just the ladder |
| Tape Measure & Chalk Line | Measuring and snapping straight layout lines | Double-check measurements for panel alignment |
Types of Metal Roofing

There are many different types of metal roofing that differ in both material and style. Depending on the type of metal roofing you choose, there can be significant differences in price, installation, and maintenance.
Five types of metal often used for roofing include:
Tin
A lightweight, budget-friendly option. While technically a mislabeling (modern “tin” roofs are usually steel coated with tin), it offers solid performance and is easy to install. Best for smaller structures or budget-conscious homeowners.
Galvanized Steel
Steel coated in zinc to resist corrosion. It’s strong, affordable, and handles extreme weather well. Slightly heavier than aluminum but more budget-friendly than copper or zinc.
Zinc
Premium and long-lasting, zinc develops a patina that protects it from corrosion. It requires little maintenance and looks great on modern or architectural homes. One of the most sustainable options.
Aluminum (or Copper)
Extremely lightweight and corrosion-resistant. Great for coastal areas or climates with heavy rain. It reflects heat well and comes in a variety of finishes.
Performance, Price, and Durability: How Metal Roof Types Stack Up
| Metal Type | Lifespan | Cost | Weight | Best For | Notes |
|---|---|---|---|---|---|
| Tin | 30–50 years | $ | Light | Budget-friendly projects | Often confused with galvanized steel |
| Galvanized Steel | 30–50 years | $$ | Medium | All climates, moderate budgets | Prone to rust if coating is damaged |
| Zinc | 50–80+ years | $$$$ | Medium-Light | Modern homes, long-term homeowners | Forms patina, minimal upkeep |
| Aluminum | 40–60 years | $$$ | Very Light | Coastal or rainy areas | Highly rust-resistant, easy to install |
| Copper | 70–100+ years | $$$$$ | Medium | Historic, high-end, or custom builds | Changes color over time, no maintenance needed |
3 Standard Design Styles for Metal Roofing
In addition to material choice, you also have a lot of options when it comes to the style of your metal roofing system.
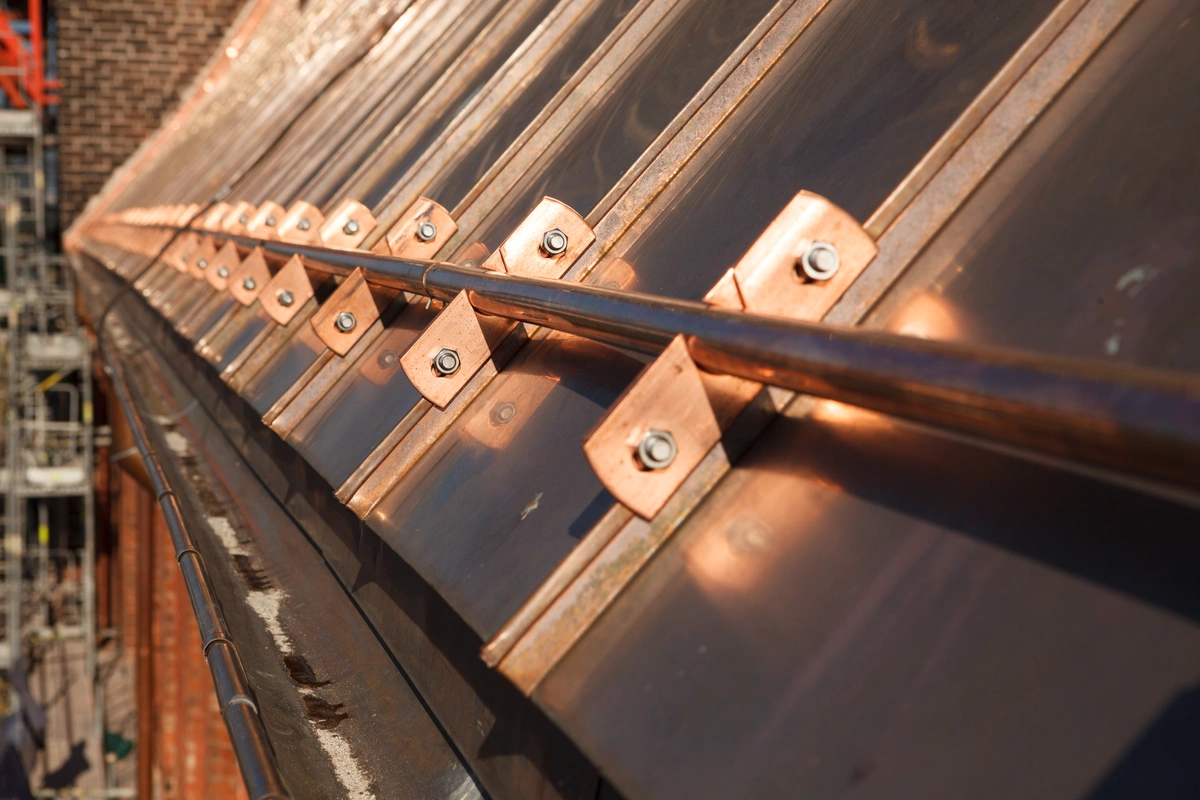
1. Standing Seam
A standing seam metal panel is a seamless design that offers excellent durability and lots of insulation for your home and is installed by welding horizontal panels together.

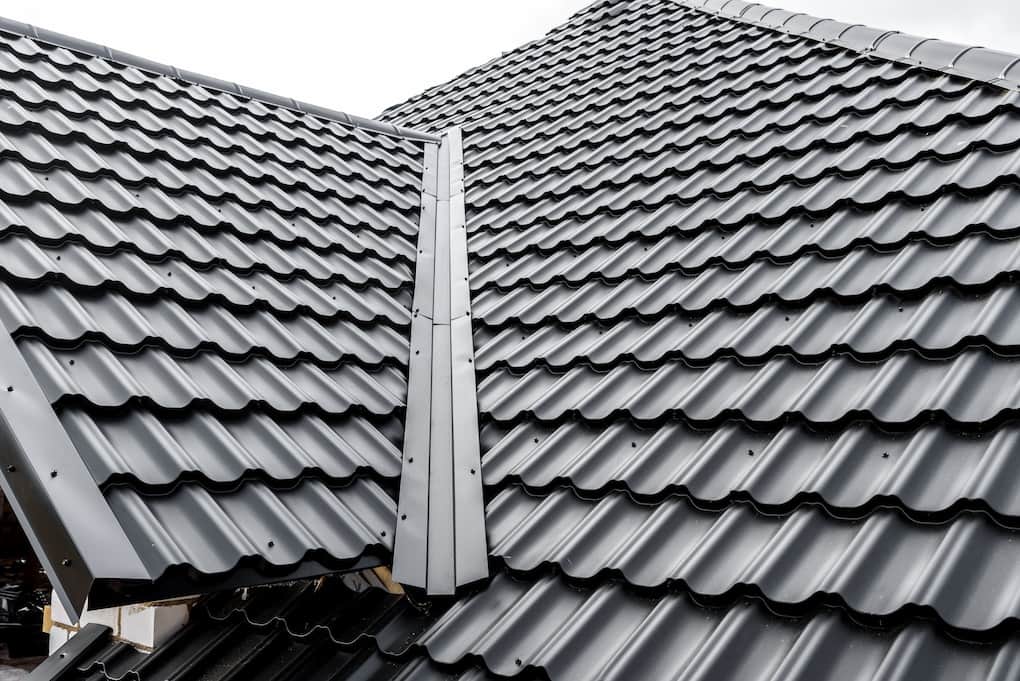
2. Modular Panels
Modular metal panels are installed by slotting the panel into a galvanized steel frame to form a tight seal.
3. Corrugated Panels
Corrugated metal panels are installed by attaching them to a rigid substrate with nails, screws, or staples.
How to Install Metal Roofing: 6 Key Steps
As you can see, there are so many different variations of metal roofing, but they all share the benefits of longevity, durability, and boosting curb appeal. Choosing to install a metal roof is a great option and can be done yourself by following a few key steps. Here’s an essential step-by-step guide to installing your new metal roof.
1. Thoroughly Measure Your Roof
Before you purchase materials, make sure that your metal roofing will fit your home. This is easiest to do if you measure out the space and take measurements before shopping for panels or shingles. But once you know what size of the material to buy (in inches), be aware that not all metals come in standard sizes, so it’s good to have a little extra just in case.
- Measure the Height of Your Roof: Measure your roof to determine how many panels are needed for installation. Some metal roofs come with pre-cut lengths, but if not, you will need some sort of measuring device like an accurate yardstick, measuring tape, a chalk and line system, or a laser leveler. For the best results, make sure to use a ladder so you can get accurate measurements.
- Measure the Length of Your Roof: Once you know how many panels are needed for installation, measure the length of your roof and order that amount in panels or shingles. Start at one end and take a reading from top to bottom with your measuring tape to measure correctly. At that point, measure the distance to the opposite end and add those two measurements together for your total length.
- Measure the Pitch of Your Roof: Another critical number you’ll want to know is pitch — this refers to how steeply sloped your roof is, or in other words, its incline measured from a horizontal plane. The pitch you want will depend on the type of metal roofing you buy because a steeper pitch means more material is needed for installation.

2. Purchase all of Your Materials and Tools
After you’ve measured your roof, the next step is to purchase all the materials and tools you’ll need for installation. Again, refer to our list of tools and materials above, but now you will know more accurately how many materials you’ll need to purchase based on your roof’s measurements.
- Metal Roofing Sheets: These are usually available in three lengths (30″, 24″, or 16″) and can be purchased in either the sheet form or in pre-cut lengths.
- Metal Roofing Shingles: They come with a variety of widths (ranging from 12″ to 24″) and have an option for round shapes used on steep pitches.
- Galvanized Steel Frames: These frames are available in different sizes and are installed first to support the metal panels.
- Remove the Old Roof
Now you’re ready to remove the old roof. Depending on how it was installed, this might be as simple as removing screws or nails and pulling up shingles. However, if your current roof is a standing seam design (which requires welding), then you’ll need to cut through some of the panels before being able to pull them off the roof.
3. Repair any Structural Damage
Once you’ve removed your old roof, it’s time to attach the new frame in place. If there is any structural damage or reinforcement that needs to happen, this should be done first. This will provide a solid foundation for attaching the metal panels or shingles onto and securing them by using nails, screws, or staples (depending on what type of material you’re installing).
4. Install Drip-Edge
After you’ve installed your frame, it’s time to install the drip edge. A drip edge is a strip of metal that edges over any seams between roof panels and prevents water from seeping through gaps in the material or dripping down onto walls below.

5. Install Your Metal Panels or Shingles
Now you can start installing the metal panels or shingles. To do this, first attach galvanized steel frame strips to your roof’s edge for stability and then use nails, screws, or staples (depending on what type) to secure them in place before moving on to the next row of material.
If you’re installing metal shingles, then you’ll want to install screw-on brackets. This helps keep the roof’s shape secure and also attaches any pre-cut lengths that might be available (saving you from measuring each piece separately).
6. Finish With Ridge Caps and Gutters
Lastly, you can finish by installing the ridge caps and gutters. Ridge caps are metal or plastic panels that run along the roof’s uppermost edge to protect it from water damage. At the same time, a gutter is a system for directing runoff rainwater away from your home’s foundation. These will be the finishing touches and give your new roof nice clean lines and no exposed seams or edges.
The Best Way to Install Metal Roofing
Metal roof installation can be tricky if you don’t know what you’re doing, but thankfully it’s not too difficult for homeowners who are willing to put a little time and effort into the project. However, due to the immense specifications of installing metal roofing, we always recommend you call the pros.
Northface Construction offers comprehensive metal roofing installation, rehabilitation, and repair. We’re your local experts that will provide your house the update you deserve while boosting curb appeal and the value of your home. Contact us today if you want to sit back, relax, and let us handle the tough stuff!
