Minneapolis Roofing Experts
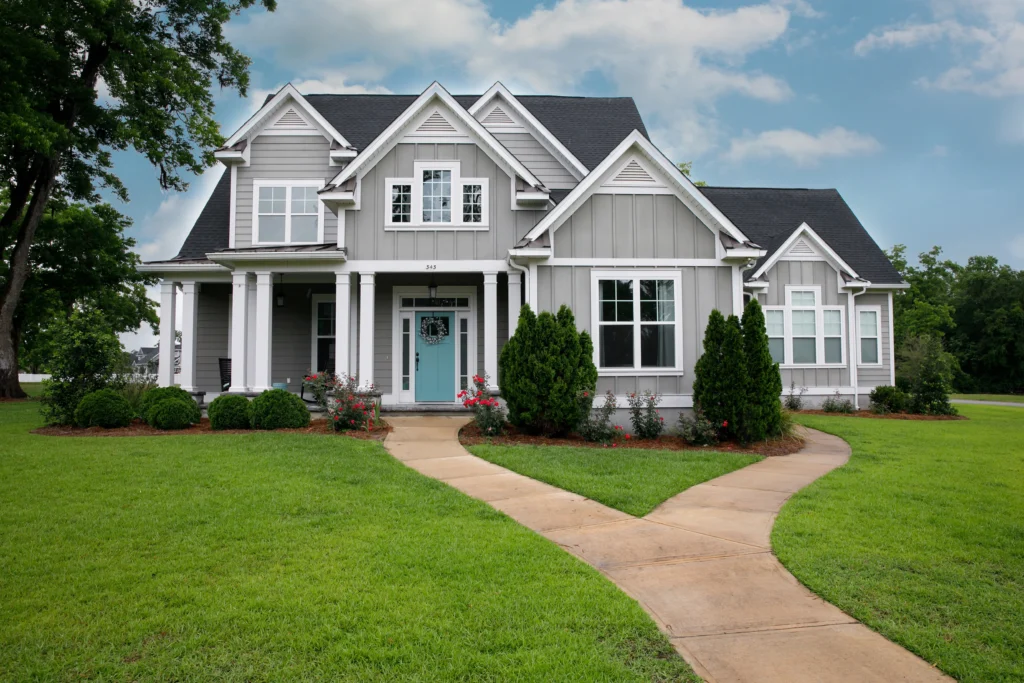
Minneapolis Residential Roofing Repair & Replacement Experts
Looking to upgrade your home with premium residential roofing in Minneapolis? Here at Northface Construction, we specialize in roof repair and full roof replacement built to handle every season Minnesota throws at us. From asphalt shingles to metal and everything in between, we offer an extensive list of premium roofing materials to fit your color, style, and budget. And if you’re not quite sure what you need, our team will walk through your options with you, inspect your roof, and help you land on the right solution for your home. Whether it’s a small repair or a full tear-off, you can count on us to do it right the first time.
-

GAF Master Elite certified
-

Roofing Materials That Last
-

Community Driven Roofing Specialists
Reach Out for a Free Quote!

4.9 Rating
A+ Rating
5.0 Rating

Long-Lasting Roofing Services in MN
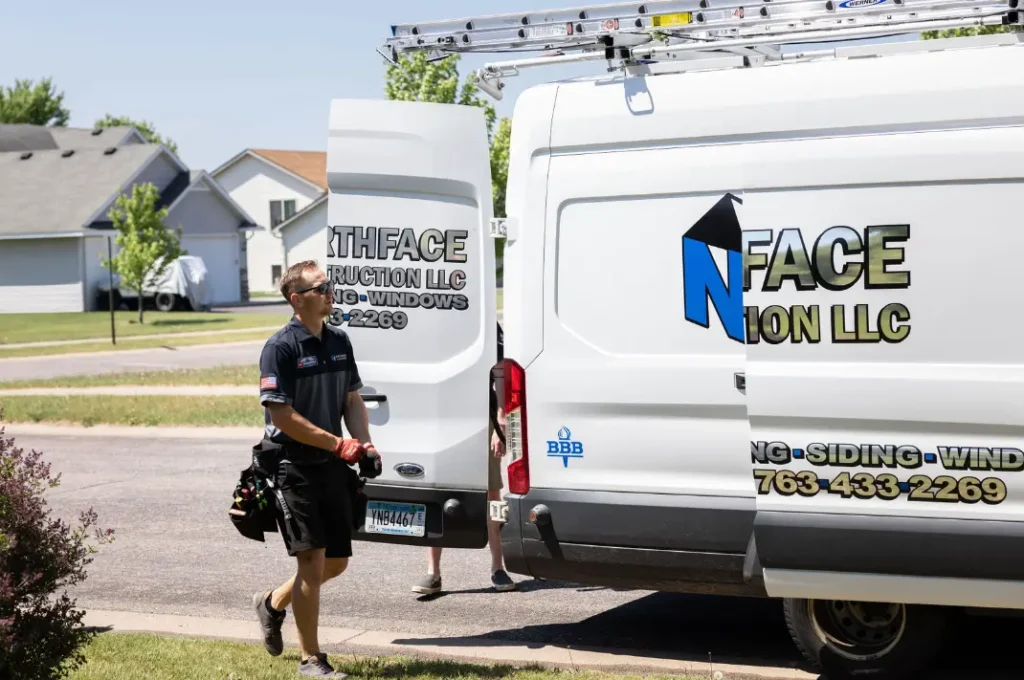
Local Roofing Contractors You Can Count On
We know how hard it can be to find a reliable roofing contractor in Minnesota. You’ll need a professional who’s equipped to repair, replace, maintain, and install a new roof that stands the test of every season. That’s where Northface Construction comes in.
As one of the leading roofing companies in Minnesota, we offer industry-leading roofing materials from top brands like GAF, EDCO, Brava, & plenty more! We don’t just preach excellent siding and roofing services — we walk the talk. Check out our projects to get a glimpse at what you can expect from your local roofing experts.
Roof Repair vs. Replacement: What Minneapolis Homeowners Need to Know
One of the toughest calls a Minneapolis homeowner has to make is whether a struggling roof needs a quick repair or a full replacement. The honest answer is that it depends on the age of your roof, the extent of the damage, and how much wear our Minnesota climate has already put on it. At Northface Construction, we walk you through both options so you can make a confident decision based on the actual condition of your roof. Sometimes a small repair will buy you another five to ten years. Other times, the smarter long-term move is a full replacement that protects your home and your wallet for decades to come.
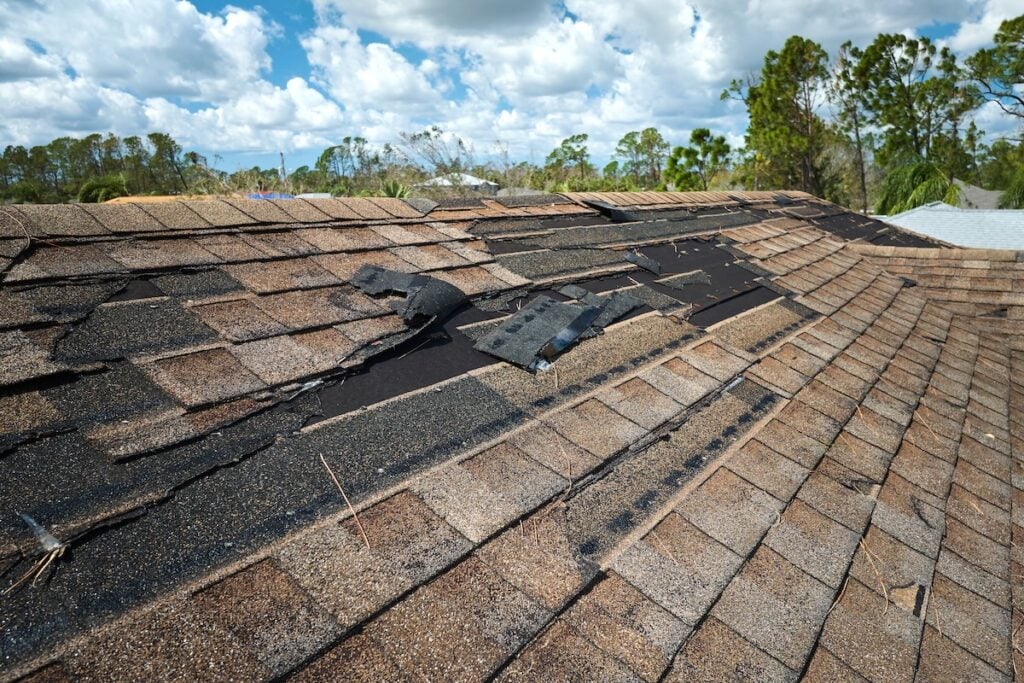
Signs Your Roof Needs Replacement, Not Just Repair
A few telltale signs point to replacement rather than another patch job, and Minneapolis homes show them faster than most. If your roof is over 20 years old, showing widespread granule loss in your gutters, has multiple leaks across different sections, or has been hit by repeated Minnesota hail and wind events, repairs start adding up faster than they should. Sagging rooflines, curling shingles across large areas, and visible daylight in your attic are red flags that the underlying system has reached the end of its life. The reality is that aging Minneapolis roofs take a beating from freeze-thaw cycles, ice dams, and summer storms in ways that homes in milder climates never experience. When that damage stacks up, replacement isn’t just the safer choice, it’s usually the more affordable one over time.
Andrew was right on time, and explained everything thoroughly to me and even showed me photos and videos of my roof to help me understand exactly what he saw! 10/10 service.

Alyssa Z.


Northface roof refresh
We Partner with UglyRoof to Revitalize your Home
Using a USDA approved formula, our roof rejuvenation services will transform your roof and home by restoring the oil back to your shingles. Not only will your roof look better, it’s sure to last longer.

- Eco-friendly, non-hazardous formula
- Extends the life of your roof
- Restores your original shingle color

Our Simple Process
We Partner With You at Every Step
A good process is more than the end result. You deserve to feel comfortable and cared for by every team member, every step of the way.
Customer For Life Mindset
At Northface, our priority is building relationships & being your go-to partner for jobs big and small, for as long as you call your house home!

Chat With the Office
Fill Out a Form or Give Us a Call
-
 Quick Response Time
 -
Easy Appointment Scheduling
-
Sales Rep Assigned
“I love chatting with homeowners and getting an inspection scheduled as soon as possible so they feel valued and heard.”

Your Sales Rep Guides You
Our First Meeting & Inspection
-
Reliable Communication
-
19-Point Inspection Process
-
We’ll Follow-Up & Check In!
“I love educating you on what’s going on with your home or building, making sure to provide you with quality documentation, photos, & low-pressure advice that helps you make the best decision for you.”

You’ll Have a Dedicated Project Supervisor!
What to Expect the Day of Your Project
-
Polite & Well-Trained Crews
-
Regular Progress Updates
-
Daily Clean-Up
“It’s important to me that our crews respect your property, show up on time, and adhere to safety and quality regulations. You can expect regular communication from me, especially regarding any change orders or unexpected complications.”

Wrap-Up With Customer Service
Quality Assurance + Invoicing
-
Project Checklist Complete
-
Crew Clean-Up
-
Final Project Supervisor Check-In
-
Invoice Provided
-
Customer Service Survey
“We don’t consider a project done until you’ve been provided with all project wrap-up details, are satisfied with our clean-up and work, and have no remaining questions. We appreciate feedback on our work – we’re always looking to improve!”


Recent Projects
Check Out Projects in Your Area!
Devoted To Serving Families In Minnesota
We support our beloved Twin Cities friends and neighbors by installing and repairing long-lasting rooftops. Our goal is to develop a true partnership with you, which means we’re happy to help you with any job – no matter how big or small.
- Albertville
- Andover
- Becker
- Big Lake
- Blaine
- Bloomington
- Brainerd
- Champlin
- Coon Rapids
- Dayton
- East Bethel
- Edina
- Elk River
- Excelsior
- Foley
- Forest Lake
- Hanover
- Hudson
- Hugo
- Lino Lakes
- Maple Grove
- Minneapolis
- Minnetonka
- Monticello
- Nowthen
- Oak Grove
- Osseo
- Otsego
- Ramsey
- Rogers
- Saint Francis
- Saint Michael
- Sartell
- Sauk Rapids
- St Cloud
- Stillwater
- Wayzata
- White Bear Lake
- Zimmerman

Ask About Our 19-Point Inspection
Our inspection process means a meticulous evaluation of your home or building’s exterior, including careful documentation and effective communication that keeps you in the loop every step of the way.
Materials and Brands We Trust
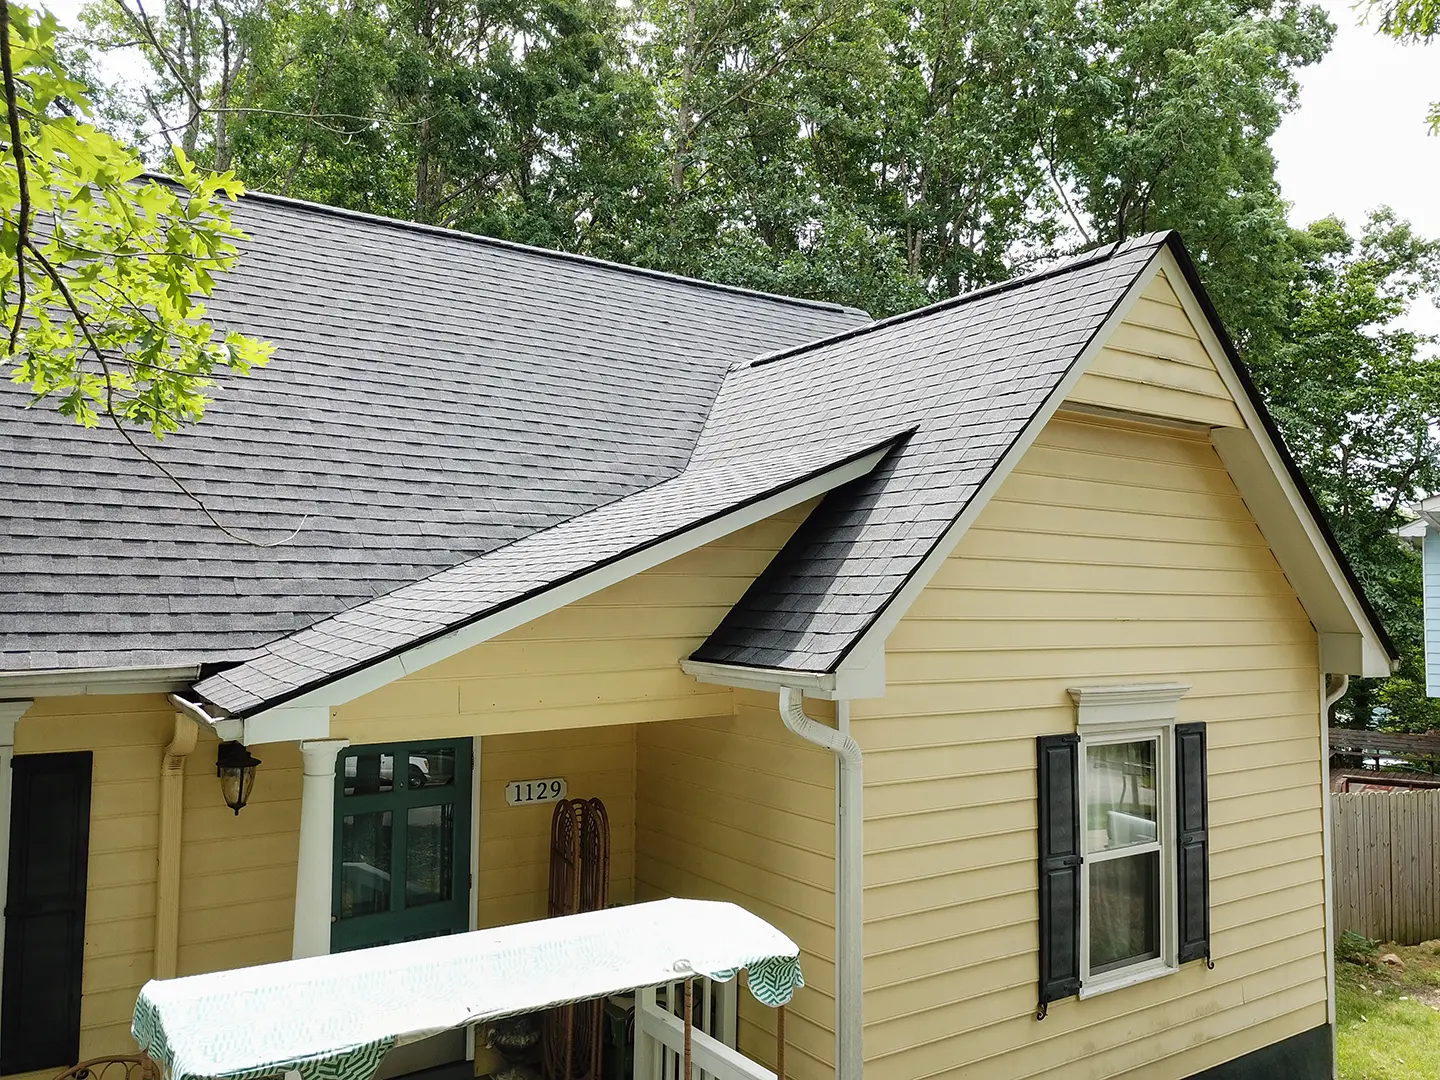
Asphalt Shingles
Asphalt Shingles are a Minnesota-favorite. They boast a proven track record in roofing, offering a blend of durability, cost-effectiveness, and diverse design options. Far from a generic solution, Asphalt Shingles offer a spectrum of colors and styles, including 3-tab, architectural, designer varieties, and beyond.
![]() Video Breakdown
Video Breakdown
Composite
We’re a big fan of composite materials because of their durability and high-end appearance. You get all the aesthetic benefits of traditional cedar shake or slate roofing, without the worries of maintenance or longevity. With composite roofing, you can expect both elevated design appeal and enhanced fire, wind, and impact resistance.
![]() Video Breakdown
Video Breakdown
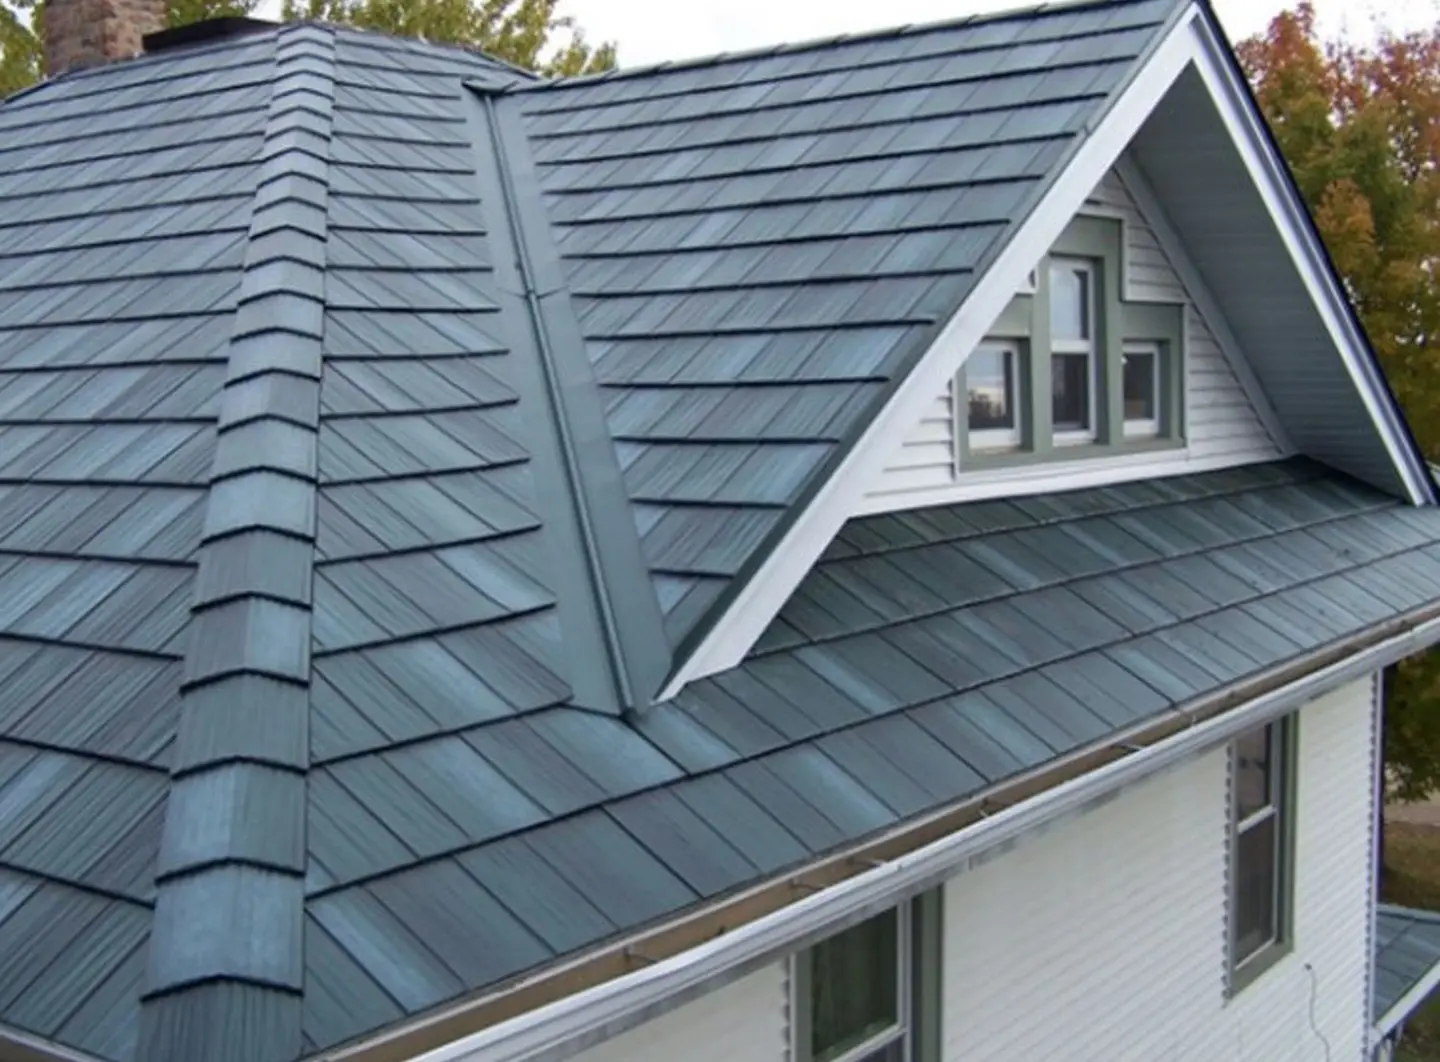
Metal
We have a range of metal roofing materials available, including standing seam metal, metal shingles, and metal panels. Metal roofing isn’t just for farms or businesses anymore; it’s gaining popularity among homeowners too. With its ability to withstand weather, insects, and fire, metal roofing is both practical and attractive for residential use.

Cedar Shake
Cedar Shake Roofing offers unparalleled strength and durability due to cedar’s natural resilience, making it an ideal long-term investment for homeowners seeking safety and longevity. Not only does it provide exceptional resistance to storm damage and other environmental factors, but it also offers customizable finishes and enhances energy efficiency, all while adding timeless style and curb appeal to any home.

Do you offer financing for your roofs?
We do offer financing solutions and can work with you on different options. With financing, we offer a relatively straightforward process which allows homeowners support to complete a needed project even when you may not have cash on hand.
Do you offer roof repairs?
Yes, we do.
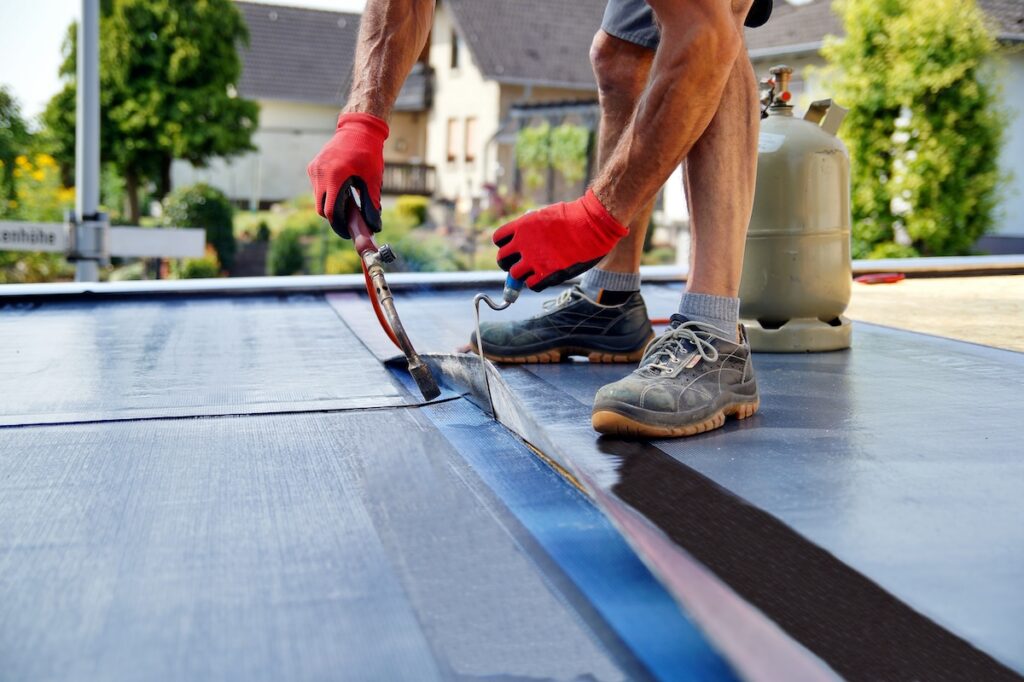
How long does a typical roof installation take?
While it depends on the size of the roof, most residential home roof installations take 1 to 2 days.
How quickly can you make it to my home for a free estimate after I reach out?
While it depends on the time you contact us, we try to make it to all our storm damage estimates on the same day, and if that’s not possible, the very next day.
FAQS
All Your Roofing Answers.

"Feel free to check out our comprehensive list of FAQs: click here"
Josh Swisher // CEO
Minnesota Roofing Done Right
Customer Service That Always Puts You First
A bad customer service experience can bring down an entire project. With us, you don’t have to worry about that. Our team is committed to ensuring that your time working with us is a positive one, where you feel valued and that you’re truly being taken care of – from our sales team, as well as those involved in production.
Rest assured knowing that the Northface team is here to tackle your roofing problems, listen to your needs, and actualize your vision when it’s time to upgrade your home exterior.

Featured Resources
Industry Guidance at Your Fingertips


